
Last updated October 9, 2026
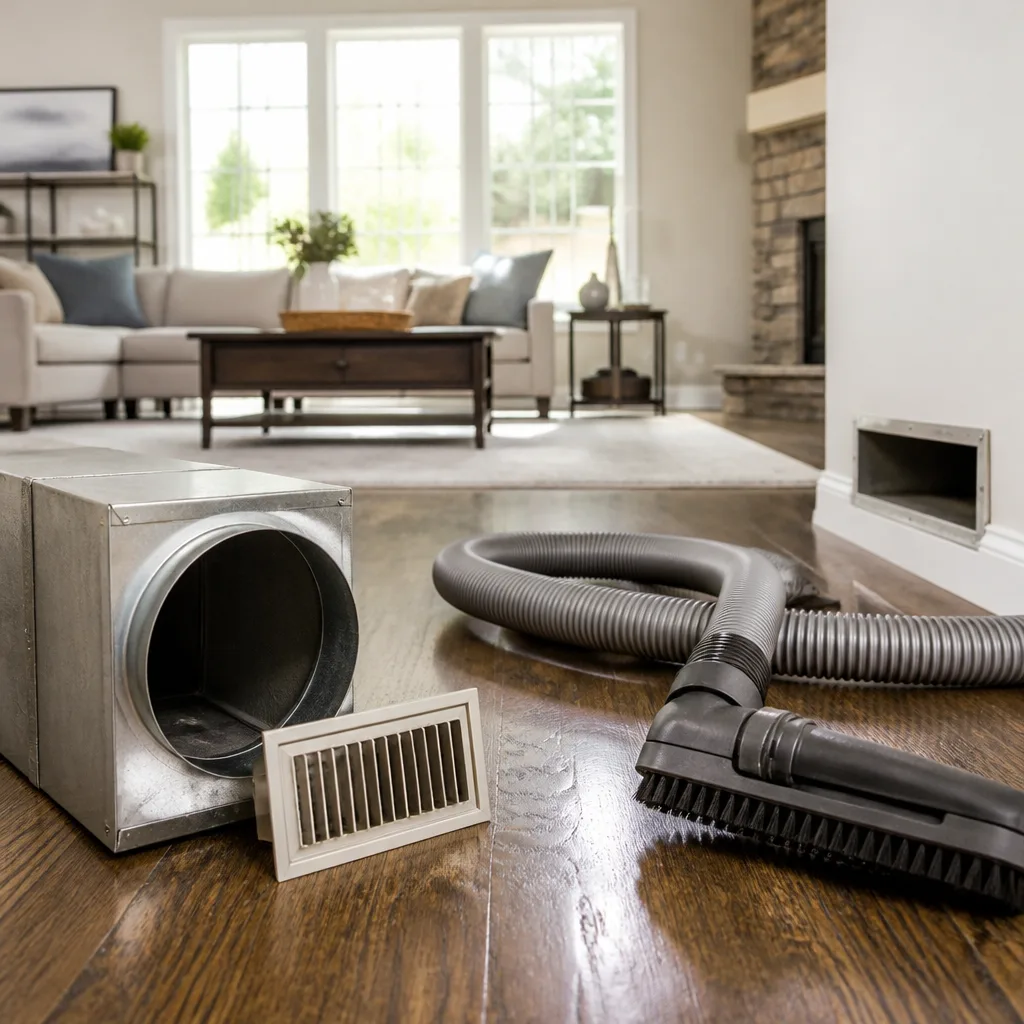
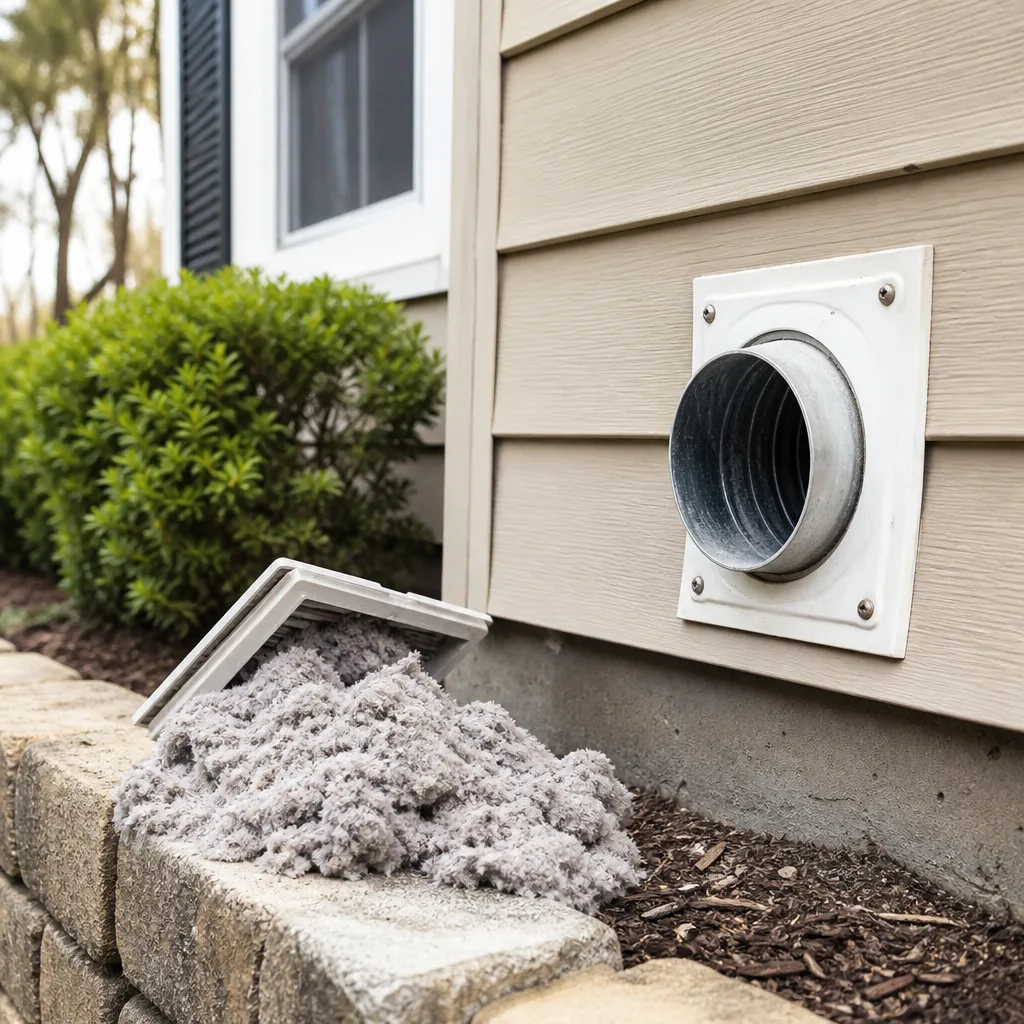
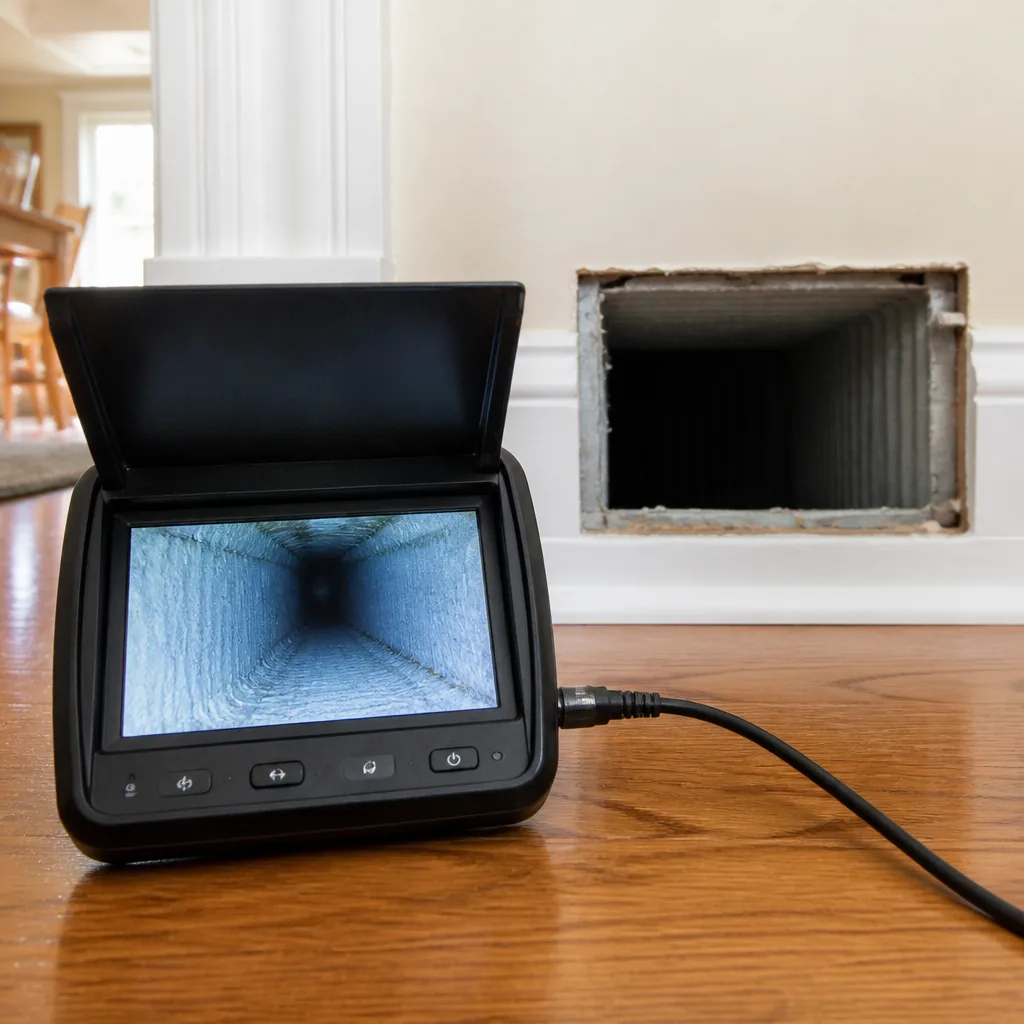
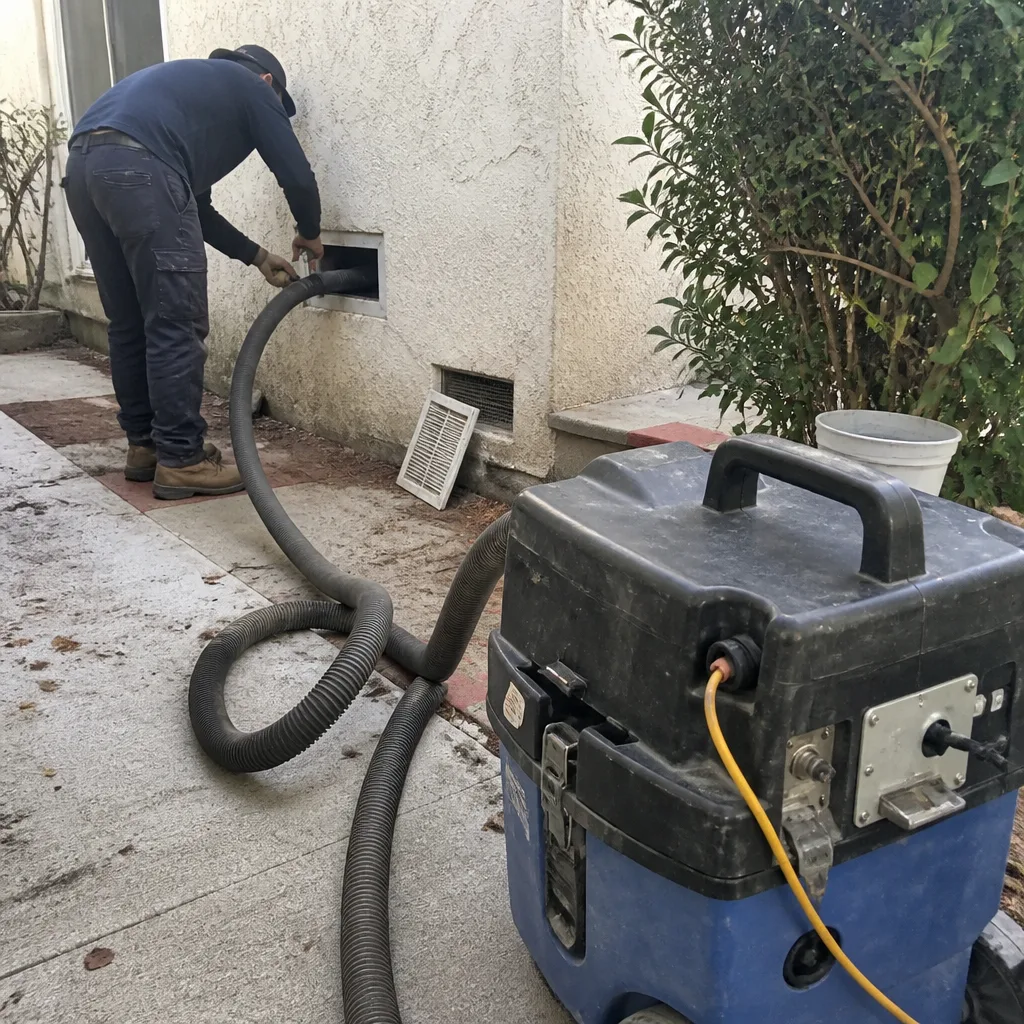
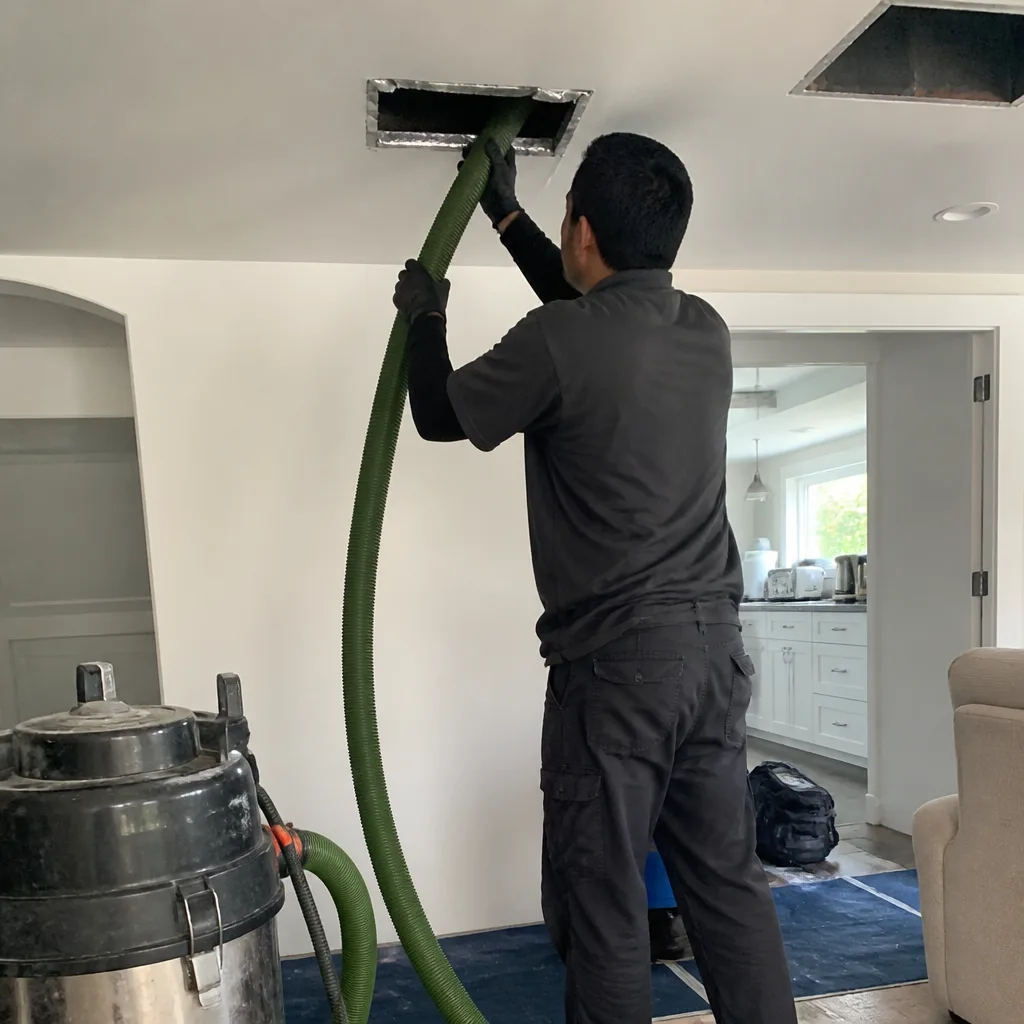
Whole-system duct and dryer vent check with before-and-after photos - you see exactly what came out of your vents
That "$99 whole-house special" is a bait ad - the real number appears once they are in your hallway, or the "clean" is a shop-vac at the register. We photograph the inside of your ducts before and after instead.

 Before
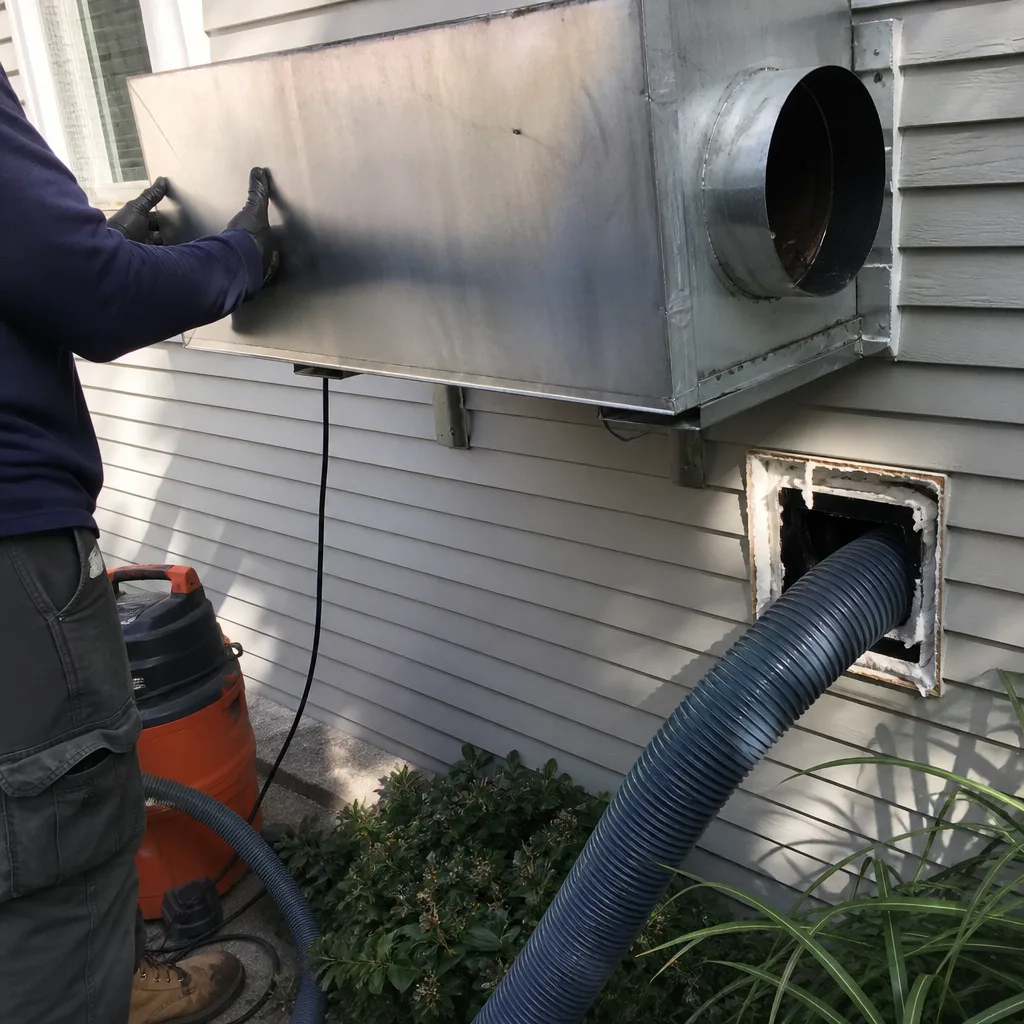 After
After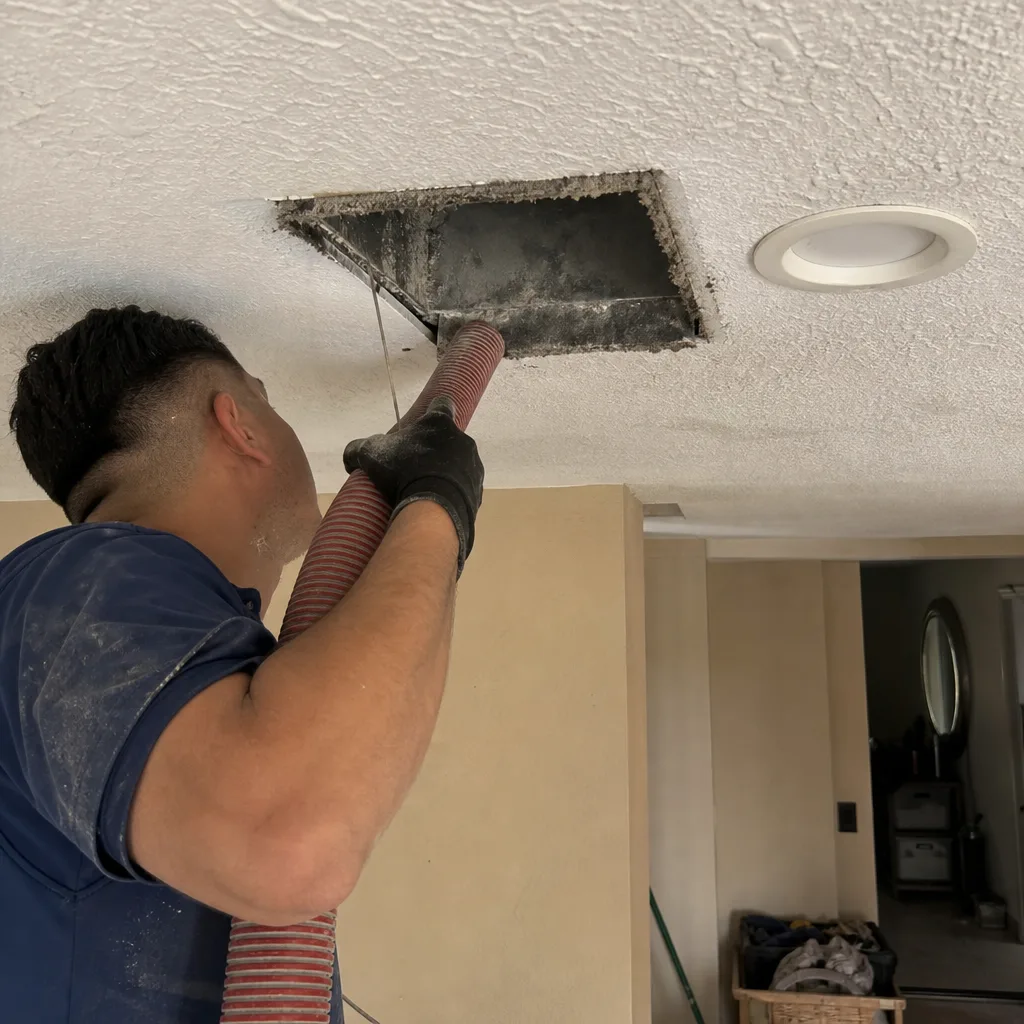 Before
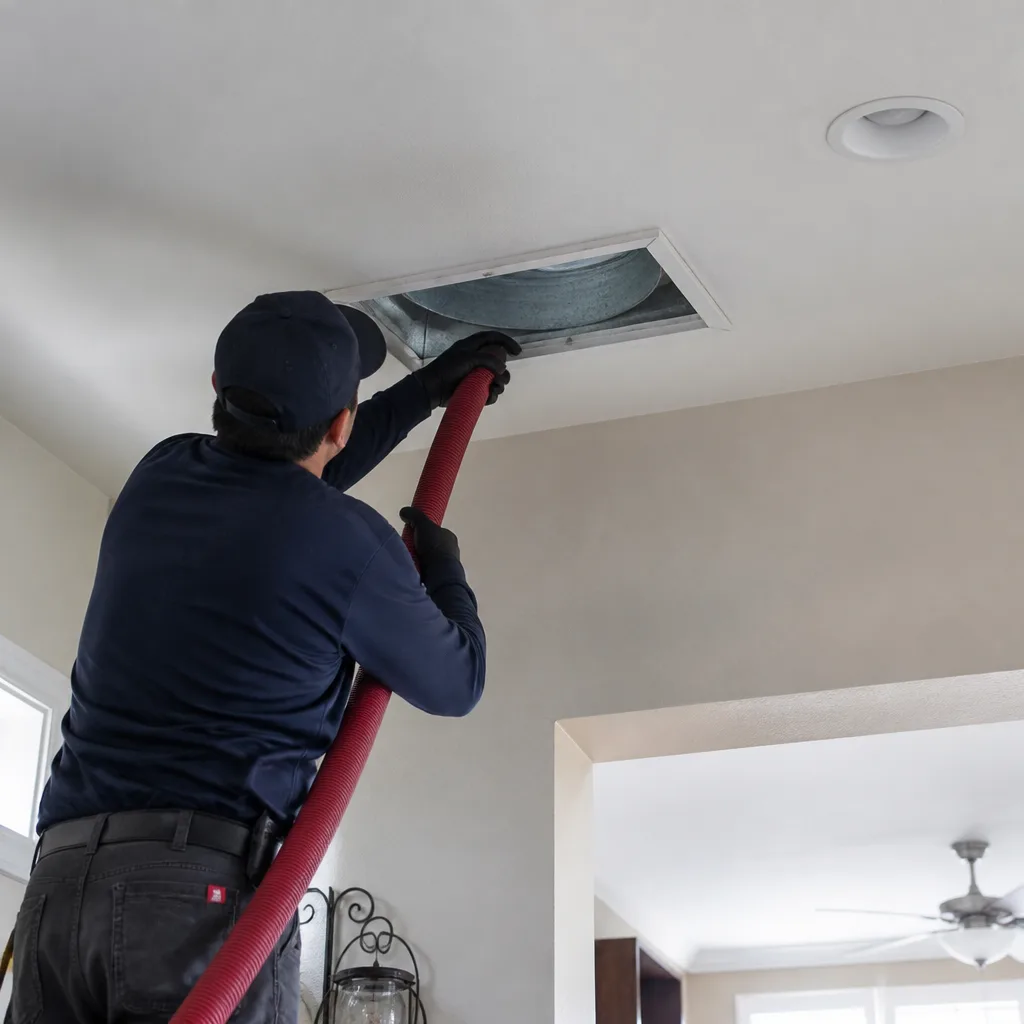 After
After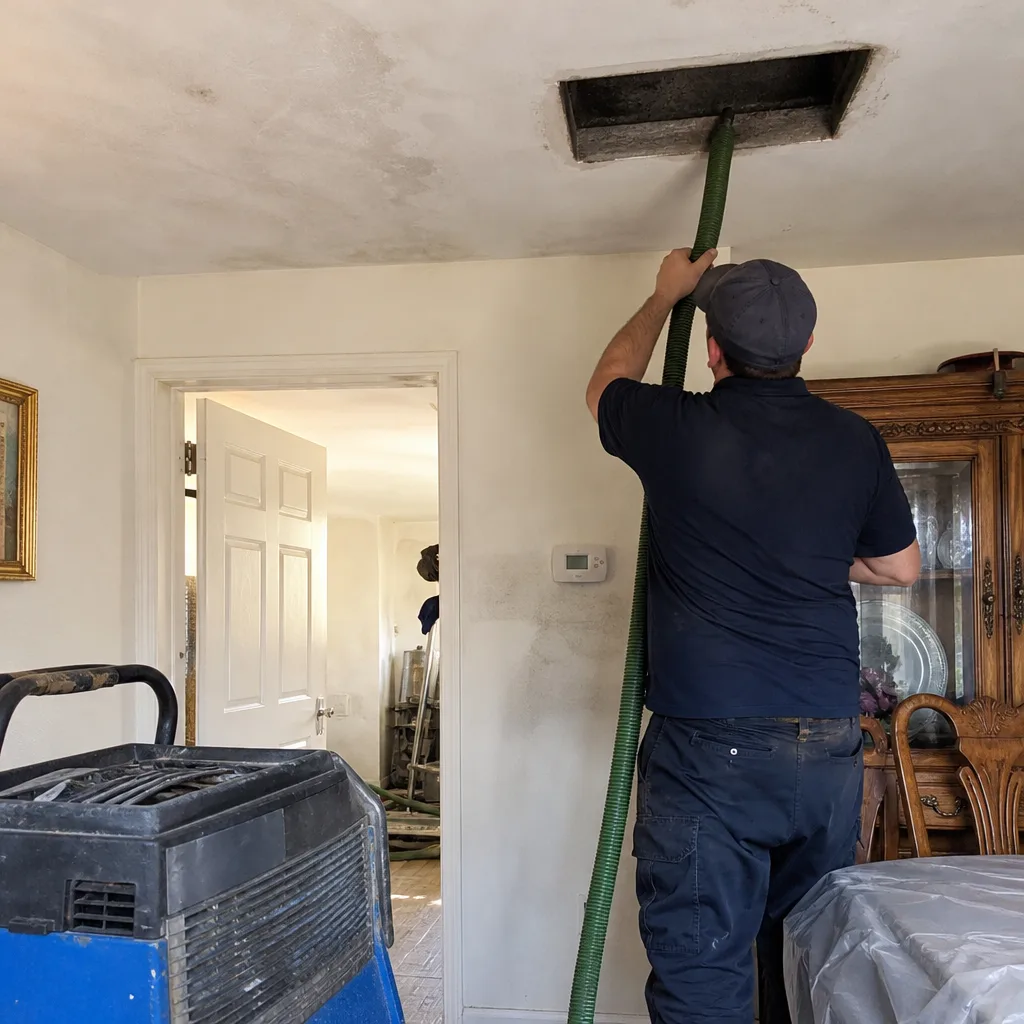 Before
 After
AfterDryer Vent Cleaning Troubleshooting: Common Problems and How to Fix Them
A dryer that takes 90 minutes to dry one load of towels is not necessarily broken. If that same load took 45 minutes two years ago, the vent restriction has almost certainly doubled the cycle time and the energy bill with it. In Los Angeles, where utility rates keep climbing and most homes run dryers several times a week, a restricted vent is one of the few household problems that literally pays you back when you fix it. This guide walks through a systematic elimination process that tells you whether the vent or the dryer itself is the real problem, before you spend money on dryer vent cleaning or repairs.
Quick Answer
Most dryer vent problems fall into four categories: a clogged vent run, a crushed or kinked transition hose, a blocked exterior cap, or a failing dryer component that mimics vent trouble. Start with the homeowner-accessible checks first: the lint trap, the transition hose behind the dryer, the exterior cap airflow, and a cycle time comparison. If those check out, the problem is likely inside the dryer itself. The diagnostic process below will tell you which one you’re dealing with in about 20 minutes.
Table of Contents
- The Symptoms: What a Restricted Dryer Vent Actually Looks Like
- The Four-Step Homeowner Diagnostic
- Vent Restriction vs. Heating Element Failure: How to Tell Them Apart
- The Transition Hose: The Most Common Restriction Point Nobody Checks
- Why Your Vent Keeps Clogging Within 12 Months of Cleaning
- What Not to Touch: Two Problems That Need a Pro
- Dryer Vent Decay and Replacement in Los Angeles
- Common Mistakes to Avoid
- When to Call a Professional
- Frequently Asked Questions
- The Bottom Line
The Symptoms: What a Restricted Dryer Vent Actually Looks Like
Before you can troubleshoot, you need to know what you’re looking at. A restricted dryer vent does not announce itself with a single dramatic failure. It degrades gradually, and most homeowners in Los Angeles adjust to the new normal without noticing it happened. Here’s what actually shows up when the vent run is restricted:
- Clothes take longer than one cycle to dry. This is the universal first sign. If a normal load of towels needs two cycles, or 90 minutes instead of 50, the vent is the prime suspect in homes over five years old.
- The dryer exterior gets hot to the touch. Heat that cannot escape through the vent backs up into the dryer body. A warm dryer is normal; a hot one is not.
- Laundry comes out hotter than it used to. With restricted airflow, the dryer’s temperature sensor cycles the heat on and off more aggressively, and clothes hold more residual heat when the cycle ends.
- The exterior vent cap barely moves when the dryer runs. You should feel a strong, steady flow of air at the exhaust point outside the house. If the flap hangs limp or the airflow is weak, the restriction is upstream of the cap.
- You smell a musty or burning odor during a cycle. Lint that cannot clear the vent line traps moisture and heat. The musty smell is damp lint; the burning smell is heat building against compacted lint.
One symptom by itself can mean several things. Two or more symptoms together point at the vent. This matters because replacing a perfectly good heating element costs $250 to $450 in Los Angeles, while a professional dryer vent cleaning in Los Angeles typically costs between $120 and $180 for a standard-length run. Troubleshooting first is the difference between spending the money on the right fix and spending it on the wrong one.
The Four-Step Homeowner Diagnostic
This is the elimination process we teach our customers who call us before scheduling a service. It requires no tools beyond your hands and a phone timer, and it takes about 20 minutes. Work through the steps in order. Do not skip ahead, because each step rules out a different layer of the problem.
- Check the lint trap. Remove the lint screen and hold it under a running faucet. If water pools on the screen instead of draining through, the screen is coated with fabric softener residue or dryer sheet film. That film restricts airflow at the very first point of the system, before the vent even enters the conversation. Scrub the screen with warm water, dish soap, and a stiff brush. Let it dry completely before reinstalling. If the screen passes the water test, move to step two.
- Check the exterior cap airflow. Start the dryer on a timed cycle with the door closed, then go outside to the vent cap. Put your hand over the exhaust. You want a steady, strong push of air. If the airflow feels weak, or the flap is not opening fully, you now know the restriction is somewhere in the vent run, not in the dryer. If the airflow feels strong and steady with the dryer running, the vent is probably not your primary problem, and you should move to step four.
- Check the dryer body temperature. Run the dryer for 15 minutes on a medium heat setting, then place your palm flat on the top of the dryer. Warm is normal. Hot enough that you want to pull your hand away after a few seconds is not. Excessive body heat means the internal airflow path is restricted, and the vent line is the most common reason. This step works best in Los Angeles during the summer months, when ambient garage heat makes the contrast between normal and excessive even more obvious.
- Compare cycle time against the dryer’s rated dry time. Your dryer’s manual lists an expected dry time for a normal cotton load on medium heat. Most modern dryers fall between 45 and 60 minutes. If your load now takes 75 minutes or more under the same settings, you have a measurable performance drop. Write down the actual time, note what you dried, and use that number when you call a pro. It gives whoever comes to your house a real data point to work from instead of a vague “it takes longer.”
If steps one through three all pass, and the cycle time is within 10 minutes of the rated dry time, your dryer is likely operating correctly. If any step fails, the vent system is the leading suspect, and the next section will help you confirm it.
Vent Restriction vs. Heating Element Failure: How to Tell Them Apart
The symptoms of a clogged vent and a failing heating element overlap almost completely. Both cause longer dry times. Both cause the dryer to work harder. But the fix for one costs under $200 and the fix for the other can run $300 to $450, which is why you want to know which one you’re dealing with before you call anybody.
Here is the key difference: a vent restriction produces excessive heat at the exhaust point, while a heating element failure produces no heat at all. That single observation separates the two problems in about five minutes.
If the exterior cap air is warm or hot and plentiful, the heating element is working. The restriction is downstream of the dryer, in the vent line itself. The heat you feel means the element is doing its job; the problem is that the hot air has nowhere to go. Clean the vent.
If the air coming out of the exterior cap is weak and barely warm, and the dryer runs a full cycle without producing meaningful heat, the element is suspect. A failed element will not heat the air, so the dryer tumbles clothes in cool air, which still removes some moisture by airflow alone. That’s why a dryer with a dead element can still “dry” clothes over two hours. The clothes were never heated; they were just aired out.
If the air is neither hot nor weak, but the dryer still takes forever, the problem may be a partially burned-out element. Elements often fail in sections. A partially failed element produces some heat, but not enough to dry a full load in the rated time. In our experience across Los Angeles homes, this is the most misdiagnosed failure mode. Homeowners assume the vent is clogged, clean it, and see no improvement because the element was the problem all along.
The Transition Hose: The Most Common Restriction Point Nobody Checks
Between the back of the dryer and the wall connection sits a flexible hose, usually four inches in diameter and six feet long or less. This is the transition hose. It is the single most common restriction point in the entire dryer vent system, and it is fully accessible to any homeowner willing to pull the dryer away from the wall.
Here’s what goes wrong with it, and how to check each condition:
- Kinking. When the dryer gets pushed back against the wall, the flexible hose folds over on itself, creating a sharp bend that chokes airflow. Pull the dryer out and look for any spot where the hose is folded flat. A kinked transition hose can cut airflow by 70% or more even when the rest of the vent run is perfectly clean.
- Crushing. If the dryer was mounted too close to the wall, the hose gets compressed between the dryer back and the wall. A crushed hose has permanent creases and a reduced interior diameter. Replace it; no amount of pulling and straightening restores a crushed hose.
- Sagging. A hose that is too long will sag between the dryer and the wall connection. Lint and moisture collect in the sag, and over time that low spot becomes a plug. The hose should be as short as possible, and it should run from the dryer to the wall with no more than one gentle bend.
- Damage. Inspect the full length of the hose for tears, holes, or disconnected joints. Every hole in the transition hose lets lint and moisture spill into the laundry area instead of moving out through the vent. That lint buildup behind and under the dryer is a fire hazard and a sign the hose has been compromised.
The transition hose should be a rigid or semi-rigid metal duct, not a flimsy foil or vinyl tube. Foil hoses crush easily and their interior surface catches lint aggressively. If you have a foil hose, replace it with semi-rigid aluminum, which runs about $15 to $25 at any Los Angeles hardware store. It takes 15 minutes to swap, and it removes the most common source of recurring restrictions.
Why Your Vent Keeps Clogging Within 12 Months of Cleaning
If you had the vent cleaned less than a year ago and the symptoms have already returned, the cleaning was not necessarily done wrong. In most Los Angeles homes we inspect, recurrence points to a structural problem in the vent run itself: a sag, an offset joint, or an incompatible interior surface that collects lint faster than it should. Here is what each one looks like in practice.
A sag develops when the vent run loses its support. Dryer vents should slope slightly downward toward the exterior exit, with support straps every 4 to 5 feet. In attics and crawlspaces, heat cycling and vibration from the dryer can loosen those supports, and a section of pipe drops. Lint and moisture pool in the low spot, and within months the pipe narrows from four inches to one. The fix is re-strapping the run and eliminating the low spot, not cleaning it again.
An offset joint happens when two sections of pipe don’t line up. Instead of a smooth interior surface, the offset creates a ledge where lint catches on every cycle. The pipe may look fine from the outside. The lint builds on the interior ledge, and the restriction recurs on the same timeline every time. Replacing the offending section with aligned pipe solves it permanently.
An incompatible interior surface is common in older Los Angeles homes built with corrugated flex pipe inside the walls. That ribbed interior collects lint at a rate several times faster than smooth-wall pipe. If your home has corrugated flex duct in the vent run, you will need cleaning more often no matter what you do, and the long-term fix is replacing that section with smooth rigid metal. The cost depends on access, but a short accessible run can be replaced for under $300.
Before you schedule another cleaning, ask the technician to check for these three structural issues, and review our Duct Sealing Maintenance Schedule: What to Do and When to plan ahead. A cleaning that does not address the underlying defect is a temporary fix, and you will be back in the same spot six to eight months later.
What Not to Touch: Two Problems That Need a Pro
Most dryer vent maintenance is homeowner-accessible. Two categories are not, and attempting them without the right equipment and experience turns a $200 service call into a much larger repair bill.
Roof-termination blockages. In Los Angeles, many vent runs exit through the roof instead of through a side wall. A roof cap can become blocked by a bird or rodent nest, or by accumulated lint that has baked into a hard crust under years of Southern California sun. Checking a roof cap requires getting on the roof safely, which means a ladder, proper footwear, and a second person. Even if the blockage is visible and accessible, clearing it properly requires a rotary brush run from below or above, and the risk of damaging the cap or the roof flashing is high. This is a job for a trained technician with roof access experience.
Duct runs embedded in finished walls. If the vent runs inside a finished wall cavity, the only access points are the connection behind the dryer and the termination at the exterior. Cleaning a run with no interior access requires a professional-grade rotary brush system like Rotobrush, which feeds a rotating brush through the vent from one end while a negative-air machine pulls loosened debris out the other side. The equipment and the technique matter; pushing a hardware-store brush into a wall-embedded duct from one end usually compacts the lint deeper rather than removing it. We use Rotobrush and Nikro negative-air machines on these runs because the combination removes material instead of just moving it around.
The cost rule here is simple: if access requires a ladder to a roof, or if the duct is hidden in a wall, pick up the phone before you pick up a tool.
Dryer Vent Decay and Replacement in Los Angeles
Los Angeles has a specific set of conditions that affect dryer vent longevity, and they differ from what homeowners in colder or wetter climates deal with; see our more guides & resources for other climate-specific advice. The dry heat, the dust, and the age of much of the housing stock all play a role.
Our summers push dryer workloads to their annual peak. Back-to-school laundry, beach towels, and swimsuits all hit the dryer in August, and the added cycles push lint accumulation faster than any other season. Southern California dust is also finer and lighter than the lint generated in more humid regions, which means it gets airborne inside the duct run more easily and settles in places a heavier lint would not reach. Homes within a few miles of the freeways, particularly in the Valley and the corridor along the 10 and the 405, accumulate a finer silicate dust that compacts unusually hard.
Older Los Angeles homes, especially those built between 1950 and 1980, often have vent runs made from materials we rarely see in newer construction. Corrugated flex pipe inside walls, undersized three-inch runs where four inches is standard, and vent terminations that were never properly flashed to the exterior. If your home falls in that age range and the vent has never been replaced, budget for replacement sooner rather than later. A full replacement run in Los Angeles, depending on the length and access, typically falls between $250 and $600. The cleaning-only fix on a 60-year-old corrugated pipe adds maybe a year; replacement adds 15 or more.
Garage laundry setups, common across Los Angeles, create a different vent profile than interior laundry rooms. The shorter total run length is an advantage, but garage-mounted dryers often sit on a shared wall with the water heater or the breaker panel, and the vent run exits through a side wall that faces a neighbor’s house. The shorter the run, the faster lint reaches the cap, and the more often the cap needs a visual check. A garage dryer in Los Angeles can go from clean to noticeably restricted in eight months during heavy summer use.
One thing that surprises homeowners here is how quickly a Los Angeles vent cap weathers. Intense UV exposure breaks down plastic caps faster than in almost any other U.S. market, and a cracked or warped cap lets rain and pests into the run. If your exterior cap is plastic and more than five years old, look at it closely. A metal cap costs $15 to $35 and takes an hour to swap; the pest removal it can prevent costs considerably more.
Common Mistakes to Avoid
- Waiting until the dryer stops working to troubleshoot. By the time a vent restriction trips the dryer’s thermal fuse, the lint buildup is severe and the repair bill includes both a new fuse and a vent cleaning. Troubleshoot when the cycle time starts creeping up, not when the dryer goes dark.
- Assuming a hot dryer means the heating element is working too hard. A hot dryer body usually means the heat cannot escape because the vent is restricted. The element is fine; the airflow is the problem. Replacing a working element because the dryer runs hot is the most expensive misdiagnosis we see in Los Angeles homes.
- Ignoring a wet lint screen. A lint screen that holds water is a restricted airflow at the very beginning of the system. The fix is a two-minute scrub with dish soap. Do not skip this before paying for anything else.
- Pushing the dryer back against the wall without checking the transition hose. That final push is what kinks and crushes the hose. Pull the dryer out, check the hose condition, and push it back carefully with the hose clear of pinch points.
- Using indoor dryer vent kits. These kits vent dryer exhaust into the laundry room. They add moisture, lint, and heat to your indoor air, and they are against code in most Los Angeles jurisdictions. If a retailer is selling one, do not buy it.
- Running the dryer when you’re not home. A restricted vent plus unattended operation is how most dryer vent fires start. If your dryer takes more than one cycle to finish a load, run it only when someone is home and awake until the problem is fixed.
- Calling the first company in the search results without asking what the quoted price includes. The duct and vent trade in Los Angeles has a wide range of pricing and a wide range of what “cleaning” actually means. Ask whether the quote covers the full vent run, the transition hose, and the exterior cap. If the answer is vague, call someone else.
When to Call a Professional
Call a professional when the diagnostic points to a vent restriction but the access is beyond what you can safely reach, or when you have cleaned the vent and the symptoms persist. Roof terminations, wall-embedded ducts, and recurring blockages within 12 months of cleaning all warrant a trained eye and professional equipment. If the diagnostic instead points to a heating element failure, call an appliance repair tech, not a vent cleaner, and tell them what you observed during your checks. Hollis Air Duct Cleaning offers free estimates in Los Angeles, and we walk every customer through what the quote covers before any work starts. Call (361) 326-5060 to schedule one.
Frequently Asked Questions
Dryer vent cleaning in Los Angeles typically costs between $120 and $180 for a standard-length residential run with normal access. Charges rise when the run is unusually long, the termination is on a roof, or the duct has no interior access point. The written price should always cover the full vent run, the transition hose, and the exterior cap; if a quote seems low, ask what it excludes. Call (361) 326-5060 for an exact price on your home’s configuration.
A low quote usually means the cleaning does not cover the full system, or the company is using it as a loss leader to sell additional services once the technician is inside your home. The standard quote from Hollis includes the full vent run from the dryer connection to the exterior termination, the transition hose inspection, and the cap check, with nothing added at the door. If a competing quote is $60 lower, ask what it excludes before you book.
Ask for before-and-after photos of the vent interior. Any technician working with a rotary brush system like Rotobrush or a negative-air machine from Nikro can capture them, and they show the difference between a dirty run and a clean one in about five seconds. You can also check the exterior cap airflow immediately after the job while the dryer runs; the airflow should be noticeably stronger than before the cleaning.
Once a year for most Los Angeles homes, with two exceptions: garage laundry setups and households that run the dryer more than four times a week should consider every six months. If your home has corrugated flex duct inside the walls, the interior surface collects lint faster, and annual cleaning is the minimum, not the recommendation. The measured way to know is the cycle time comparison from the diagnostic section; a 30 percent increase in dry time is the signal.
Yes. Lint ignites at a lower temperature than most people expect, and a restricted vent allows heat to build in exactly the wrong place. The fire risk is highest when the vent is partially blocked, not fully blocked, because the dryer continues to cycle while heat concentrates in the compacted lint. This is a genuine danger, not a sales pitch; if you smell burning during a cycle, stop the load, unplug the dryer, and have the vent inspected before running it again.
Hollis serves Los Angeles and the surrounding communities. Each location is independently owned and operated under The Garrison Standard, which means the same written-price policy, the same 365-Day Done Right Promise, and the same equipment roster wherever the crew rolls out. If you’re not sure whether your address falls in the service area, call (361) 326-5060 and a live person will answer and tell you.
For broader air quality needs beyond the dryer vent, see our pages on air duct cleaning in Los Angeles and duct sealing in Los Angeles.
The Bottom Line
Most dryer problems in Los Angeles homes are vent problems, not dryer problems. The four-step diagnostic costs nothing but 20 minutes and tells you which one you have. Check the lint trap first, then the exterior cap airflow, then the dryer body temperature, then the cycle time. If the vent is the culprit, look at the transition hose before you spend money on anything else; it’s the most common and cheapest fix in the whole system. If the vent run is in a roof or a wall, or the problem keeps returning, call a pro with the right equipment and a written price. Hollis Air Duct Cleaning has been serving Los Angeles since 2004 under The Garrison Standard, with every job priced in writing before work starts and covered by the 365-Day Done Right Promise. Call (361) 326-5060 for a free estimate.
Written by Roy Castellanos, Owner at Hollis Air Duct Cleaning, serving Los Angeles since 2004.