
Last updated October 9, 2026
Whole-system duct and dryer vent check with before-and-after photos - you see exactly what came out of your vents
That "$99 whole-house special" is a bait ad - the real number appears once they are in your hallway, or the "clean" is a shop-vac at the register. We photograph the inside of your ducts before and after instead.
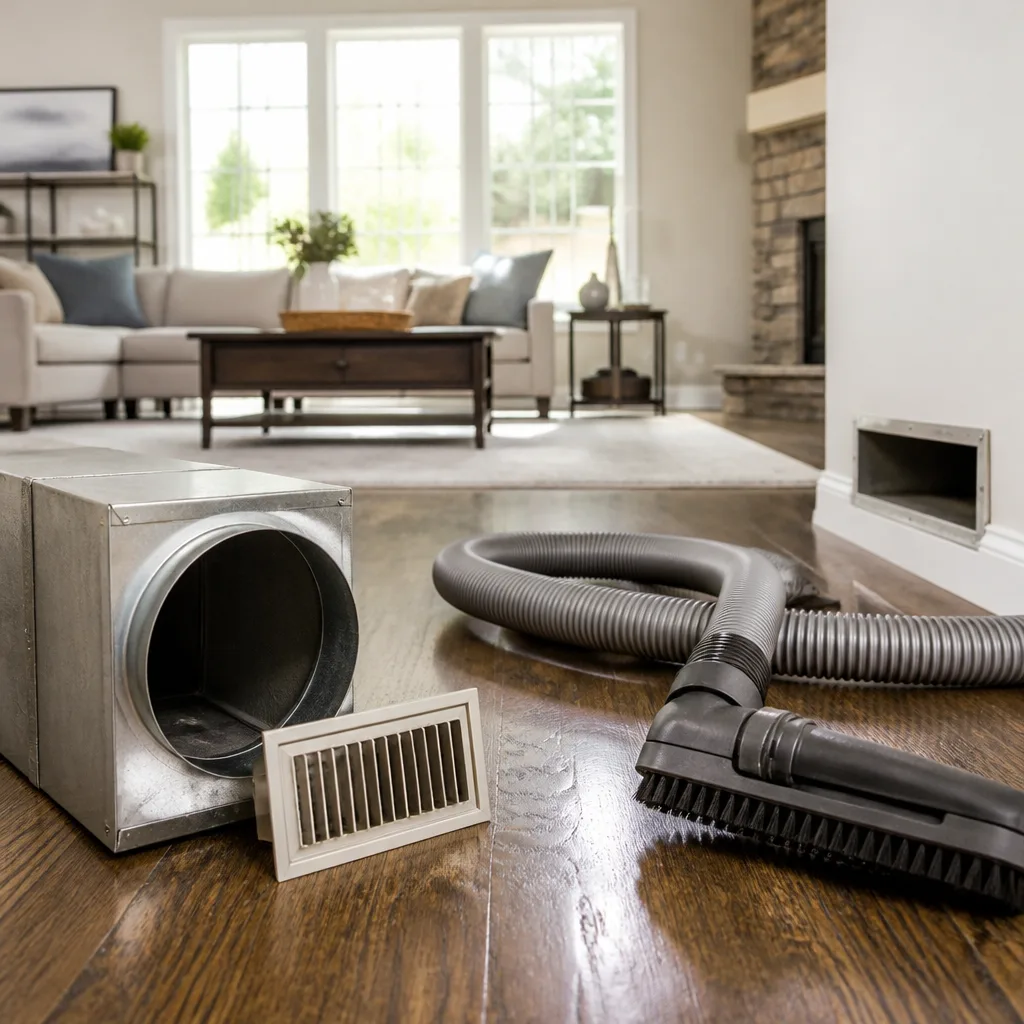
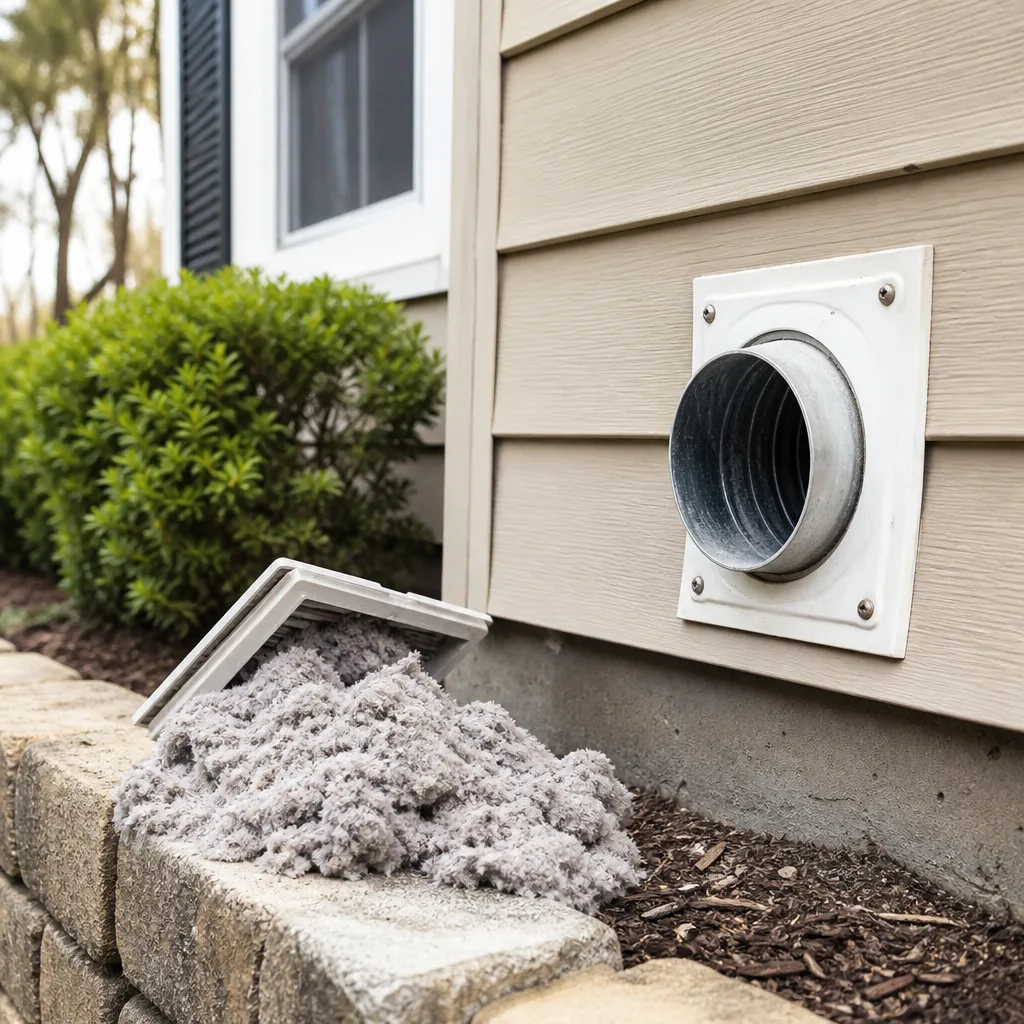
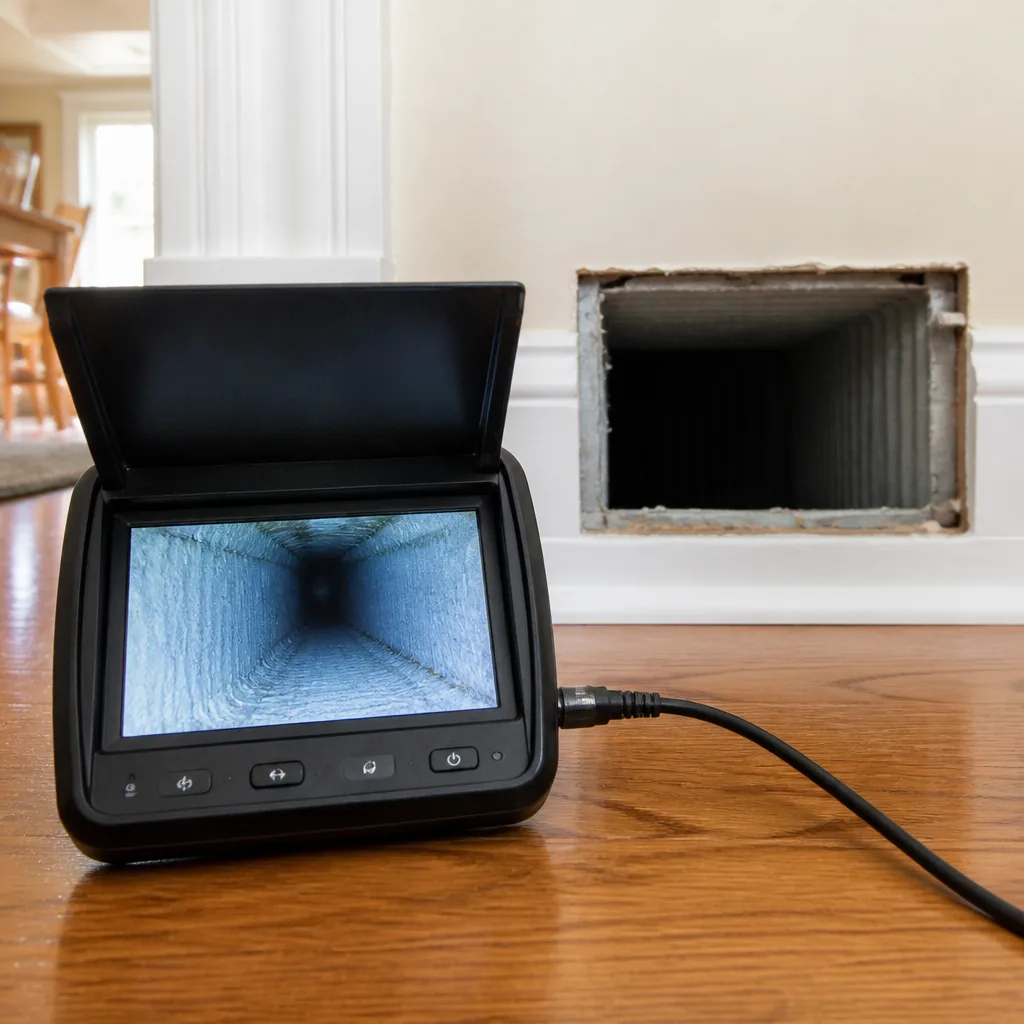
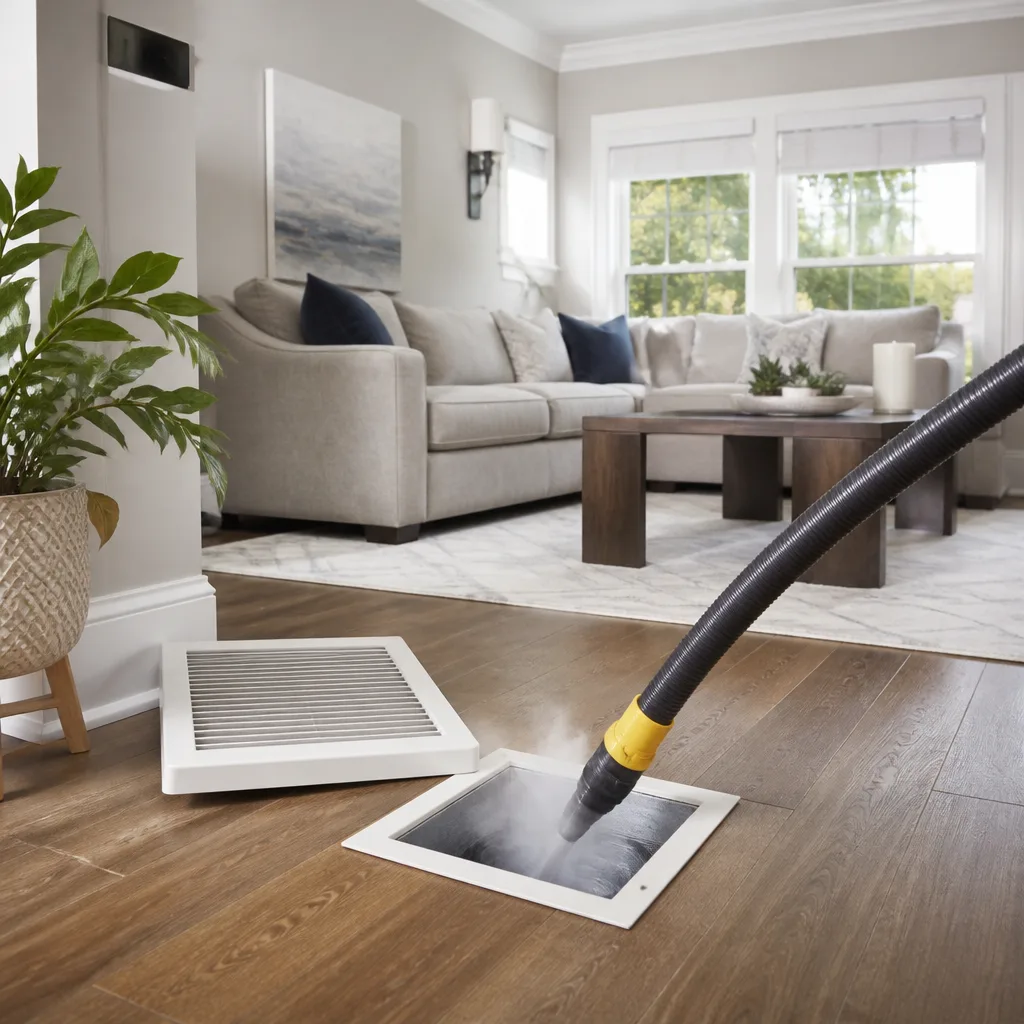
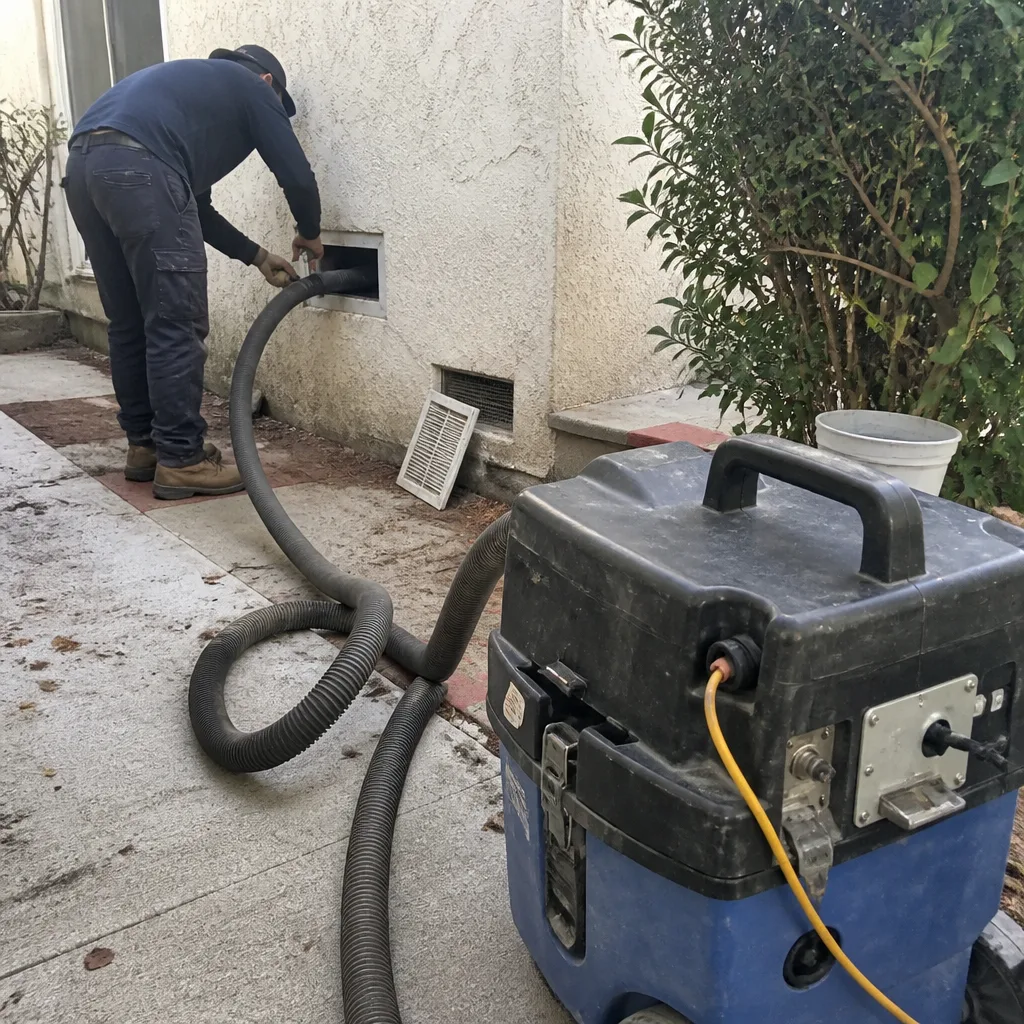 Before
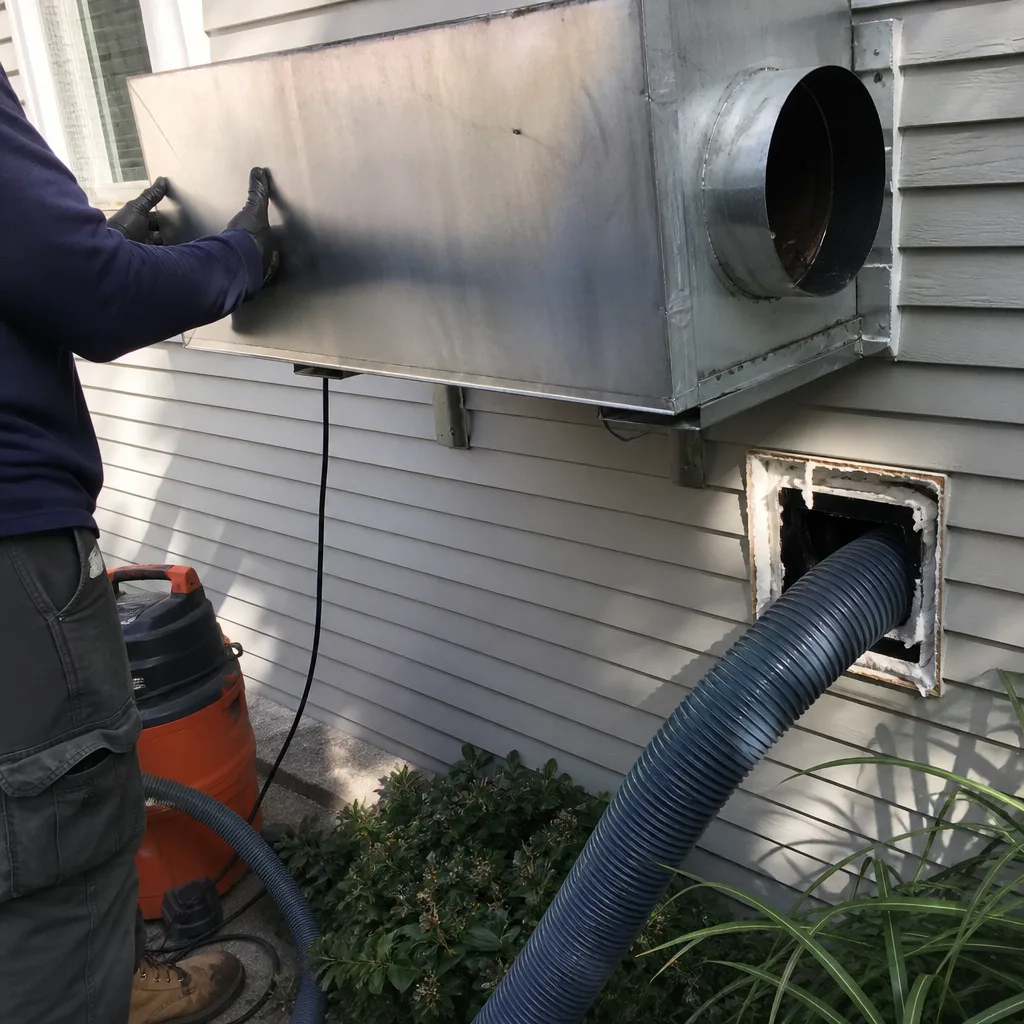 After
After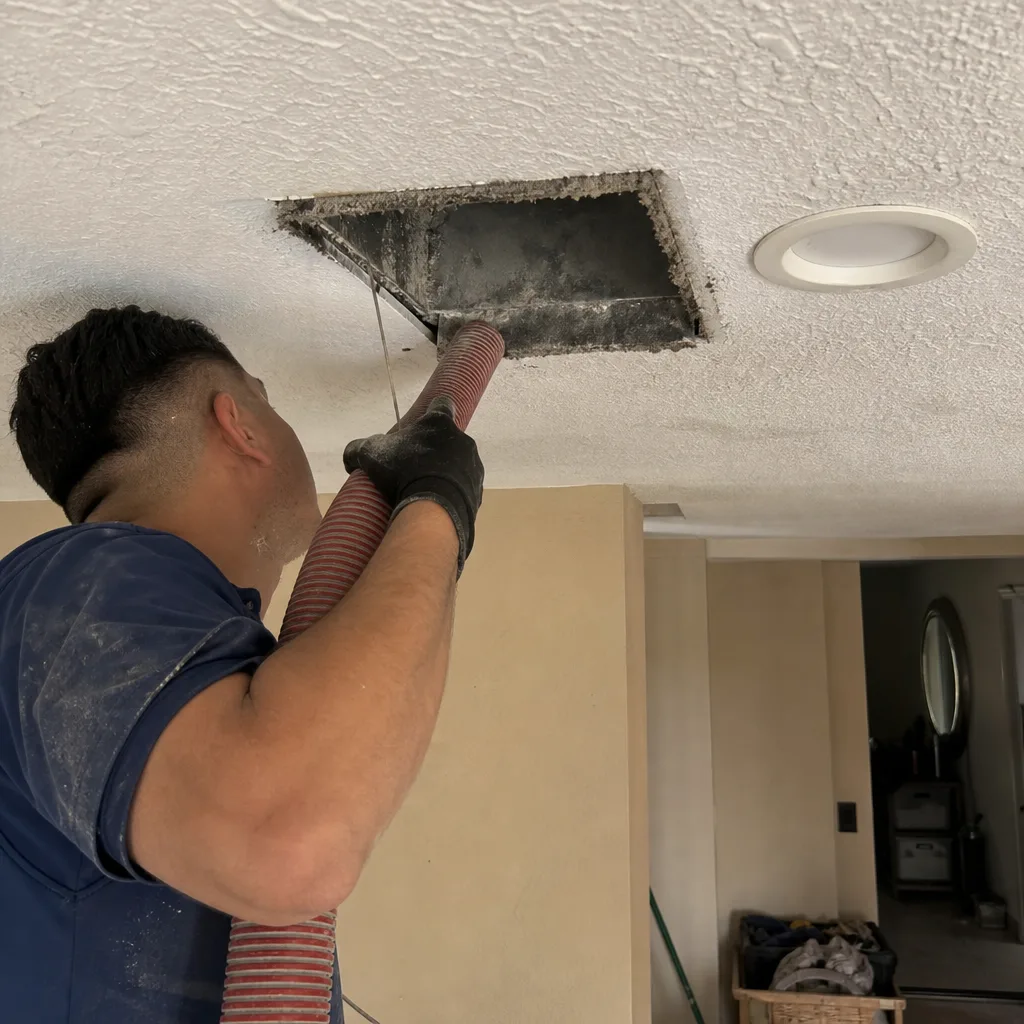 Before
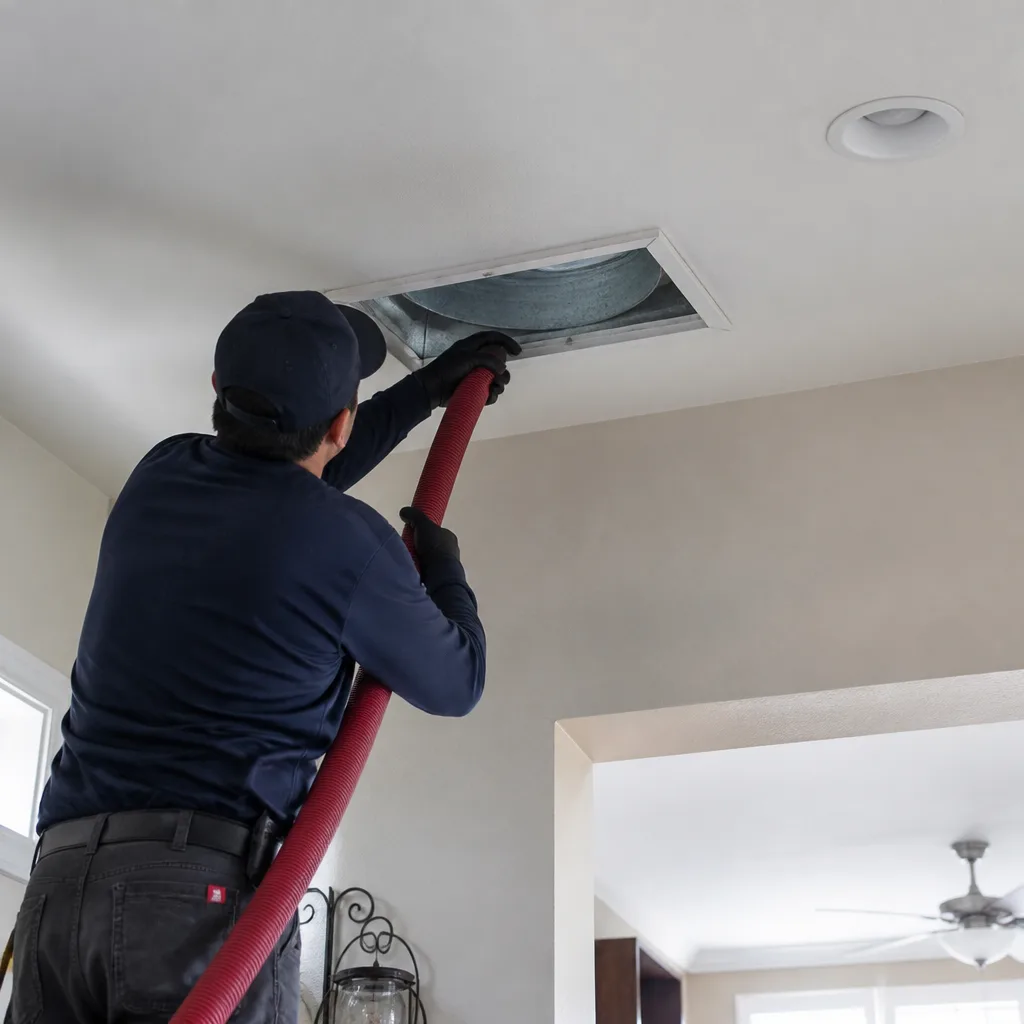 After
After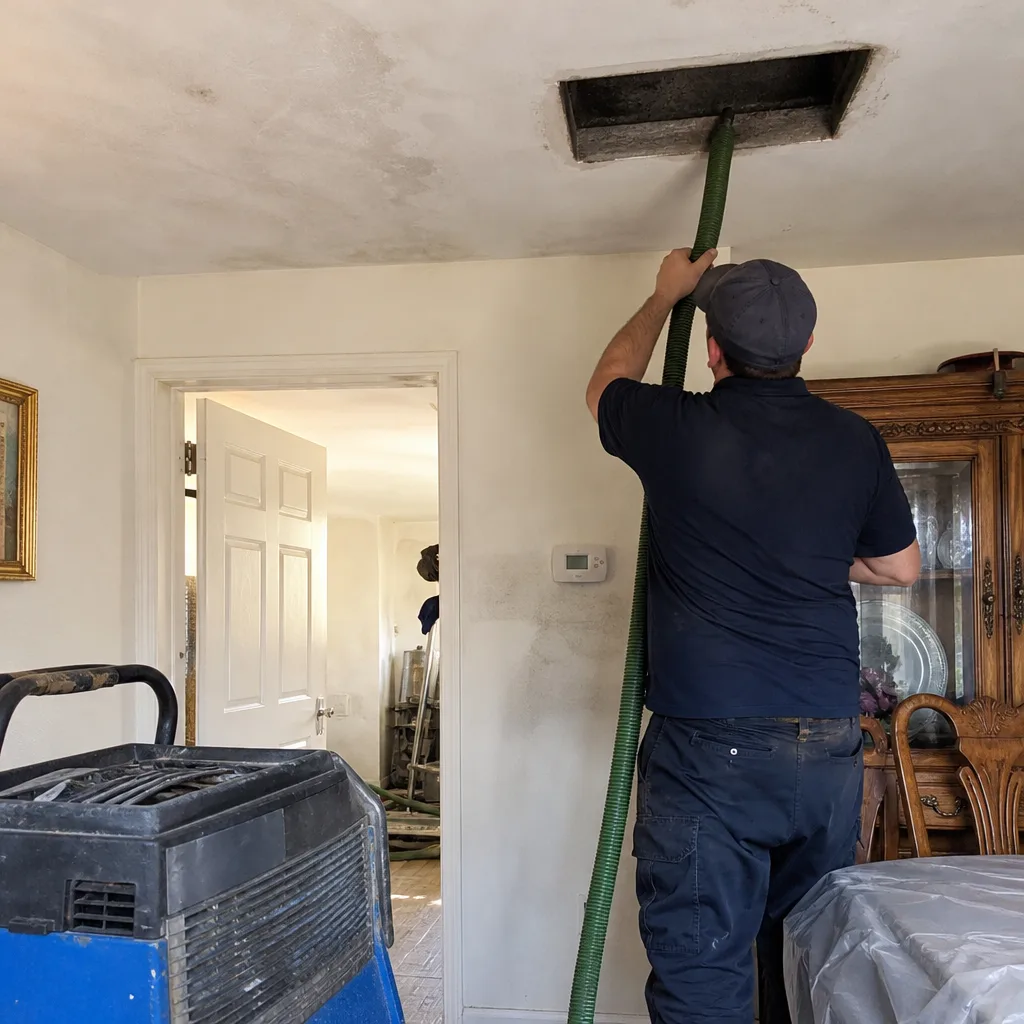 Before
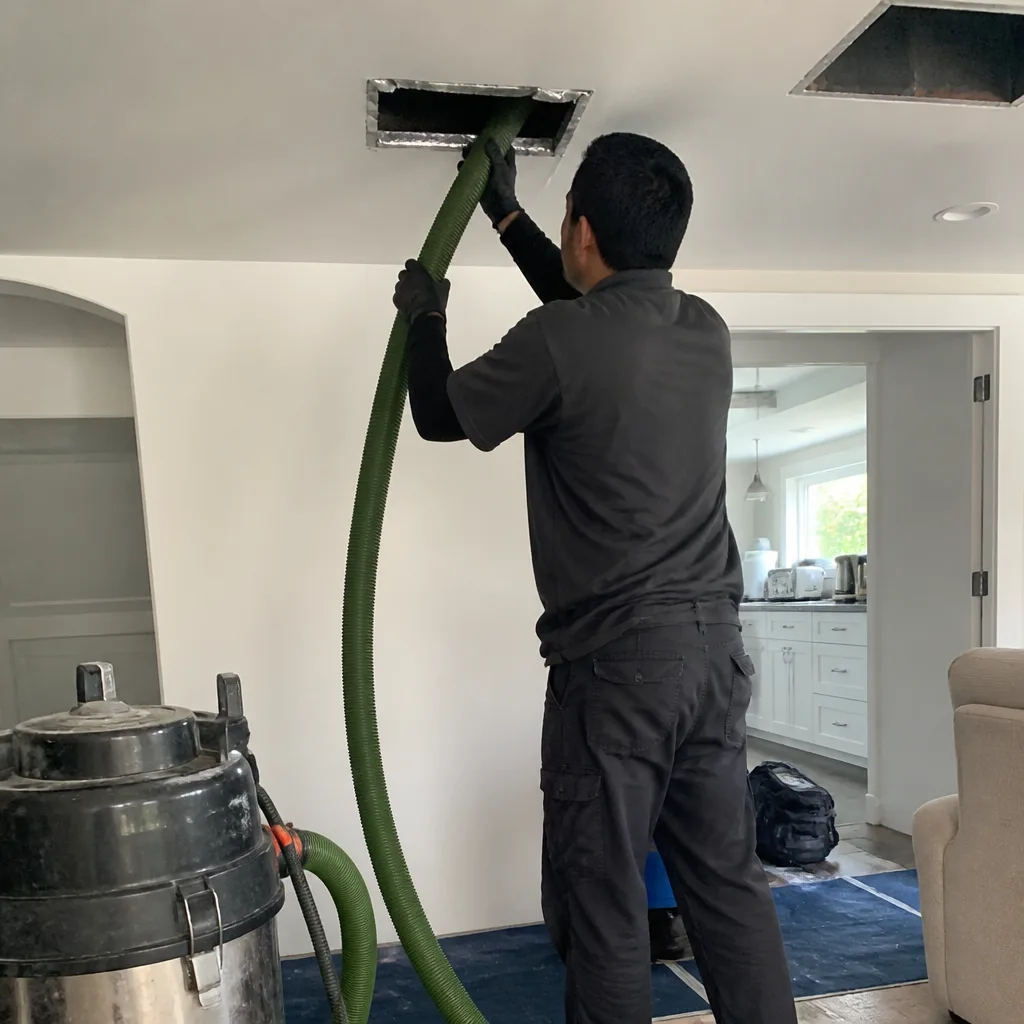 After
AfterDIY vs Professional Duct Sealing: What’s Safe to Do Yourself
Mastic, a brush, and a pair of gloves cost about $30. The problem isn’t the repair. It’s that studies from Lawrence Berkeley National Laboratory show most duct leakage happens in locations homeowners can’t access or even see without a pressure test. You can seal what you can reach. You can’t seal what you can’t find. This guide draws a hard line between the duct sealing work a Los Angeles homeowner can legitimately do on a Saturday and the work that requires instrumentation, training, and access to spaces most people never see. By the end, you’ll know exactly which connections are fair game, which ones are a waste of your time, and when the math says a professional test-and-seal package is the cheaper option in the long run.
Quick Answer
DIY duct sealing is safe and effective only on visible, accessible duct boots and seams in unconditioned spaces like attics and crawl spaces, using water-based mastic and mesh tape. Everything else, including return plenum leaks, leaks inside wall cavities, and any connection behind drywall, requires professional pressure testing and access techniques that are not realistic for a homeowner to perform correctly.
Table of Contents
- Why Ducts Leak More in Los Angeles Than You’d Expect
- What’s Actually Safe to Do Yourself
- What Requires Professional Equipment and Access
- Materials That Work and Materials That Fail
- Why Aerosol Duct Sealing Is Never a DIY Product
- Los Angeles Code, Permits, and Warranty Considerations
- The Honest Cost-Benefit Math for LA Homes
- Common Mistakes to Avoid
- When to Call a Professional
- Frequently Asked Questions
- The Bottom Line
Why Ducts Leak More in Los Angeles Than You’d Expect
Los Angeles has a duct leakage problem that most homeowners never see because the ducts are hidden. The city’s housing stock skews older. A significant portion of single-family homes in neighborhoods like Van Nuys, Reseda, and the San Fernando Valley were built before duct sealing was even part of the building code conversation. Add to that the fact that LA’s climate pushes air conditioners hard from June through October. Duct systems expand and contract with temperature swings. Connections that were snug in 1985 are gaping in 2026.
The Lawrence Berkeley National Laboratory research on residential duct systems found that leakage rates of 20 to 30 percent are common in existing homes. That means for every dollar you spend cooling your Los Angeles home, twenty to thirty cents of conditioned air is leaking into your attic, your wall cavities, or your crawl space. The air is being treated and paid for, but it never reaches the rooms you live in.
What makes this worse in Los Angeles specifically is the combination of attic-installed ductwork and the city’s dry, hot summers. Attics in the San Fernando Valley regularly hit 140 degrees in August. When your duct system has gaps at the boots, the pressure difference pulls that superheated attic air into the return side of your system. Your air conditioner then has to work harder to cool air that should never have entered the ducts in the first place.
What’s Actually Safe to Do Yourself
The DIY conversation starts with a simple rule: if you can see it, reach it comfortably, and identify it as a supply boot or a visible seam, you can seal it. If any of those three conditions fails, stop. The most common and most productive DIY duct sealing work in Los Angeles happens on supply boots where they meet the ceiling or floor registers in unconditioned attic space.
Here is the step-by-step process for the one type of DIY duct sealing that is genuinely worth doing:
- Locate the supply boots in your attic. Pull back insulation carefully. You’re looking for the metal or flex duct connections where the duct attaches to the boot that pokes through your ceiling. Don’t compress the insulation or you’ll reduce its R-value.
- Inspect each connection for gaps, loose zip ties, or separated tape. If you can see daylight through a joint, or feel air escaping when the system runs, that’s a leak worth sealing. Use your hand, not your face, to feel for airflow. Attic dust and insulation particles don’t belong in your lungs.
- Clean the surface before applying anything. Mastic will not bond to dust, grime, or old adhesive. Wipe the joint with a dry rag. If the surface is oily or heavily soiled, use a mild degreaser and let it dry completely.
- Apply a continuous bead of water-based mastic around the entire circumference of the joint. Use a chip brush or gloved fingers. The mastic should bridge the gap between the duct and the boot. Don’t thin it out. A thick, even coat is what makes the seal permanent.
- Embed mesh tape into the mastic for gaps wider than a quarter inch. Brush mastic onto the joint, press the mesh tape into it, then apply a second coat of mastic over the tape. The tape provides structural support; the mastic provides the actual seal.
- Let it cure for 24 to 48 hours before running the system at full capacity. Water-based mastic dries through evaporation. In a hot LA attic in July, it may cure faster. In a cooler crawl space, give it more time.
We’ve seen homeowners in neighborhoods from Woodland Hills to Eagle Rock do this work successfully hundreds of times. The key is that they limited themselves to what they could see and reach. They didn’t open walls. They didn’t crawl into tight spaces they couldn’t safely navigate. They sealed accessible boots and seams, and they stopped there.
What Requires Professional Equipment and Access
Now for the hard truth. The leaks that cost you the most money are usually the ones you can’t see. Return plenum leaks, leaks inside wall cavities, and connections behind drywall account for a significant share of total duct leakage in Los Angeles homes. These are not DIY repairs. They require professional access techniques and, in many cases, diagnostic pressure testing to even locate.
A return plenum is the large box or chamber where return air from your home is collected and fed back to the air handler. When a return plenum leaks, it pulls unconditioned air from wherever the plenum lives: an attic, a crawl space, or a garage. That air gets pulled into your system, filtered or not, and then cooled and blown into your living spaces. In Los Angeles, where attics are often hot and garages often have chemicals or exhaust residue, a leaking return plenum is both an energy waste and an indoor air quality problem. Sealing a return plenum properly often requires removing insulation, working in confined spaces, and verifying the seal with a duct leakage test. That’s beyond the scope of a homeowner with a brush and a bucket of mastic.
Leaks inside wall cavities are another category entirely. In many Los Angeles homes, particularly two-story homes in areas like Sherman Oaks or Studio City, duct runs pass through interior wall chases. When a connection fails inside that wall cavity, there is no way to reach it without cutting drywall. Finding the exact location of the leak requires a duct leakage test, often with a smoke pencil or theatrical fog device to pinpoint where air is escaping. Cutting into your wall based on a guess is a bad plan. Hiring a professional who can identify the leak precisely before cutting minimizes the repair and keeps the project sane. For Dryer Vent Cleaning Troubleshooting: Common Problems and How to Fix Them, a similar precision-first approach applies.
Duct systems also include connections at the air handler itself, the filter box, and the plenum attached directly to the furnace or air conditioning unit. These connections are critical because they are under the highest static pressure. A small gap at the air handler can leak more air than a large gap at a distant boot. Working around the air handler requires care: electrical disconnects are nearby, gas lines may be present, and the equipment itself is expensive. This is not a place to learn mastic technique.
Materials That Work and Materials That Fail
Part of doing DIY duct sealing correctly is using materials that will still be sealing ducts five years from now. The big box stores in Los Angeles sell plenty of products labeled as duct sealing materials, but most of them fail. Here is the short list of what works and what doesn’t.
- Water-based mastic: This is the correct material. It’s a thick, paste-like sealant that goes on wet and cures to a durable, slightly flexible seal. It is specifically formulated for ductwork. HVAC professionals have used it for decades because it works.
- Foil-backed mesh tape embedded in mastic: For gaps wider than a quarter inch, this combination is the industry standard. The tape alone is not a seal. The mastic alone can sag in wide gaps. Together they form a proper seal that lasts.
- UL 181-rated foil tape: This is the shiny aluminum tape with a peel-off backing. It’s rated for ductwork. It works for small seams and for securing insulation, but it is not a substitute for mastic on a load-bearing connection. Use it sparingly and only where the surface is perfectly clean.
- Standard cloth duct tape: This is the gray stuff you use for boxes and temporary repairs. It was never intended for ducts. It dries out, the adhesive fails, and the cloth backing turns brittle. It is useless for duct sealing within a year in a hot LA attic.
- Silicone caulk: Not rated for ductwork. It off-gasses during curing, degrades with temperature cycling, and can fail in ways that mastic does not. Skip it for ducts entirely.
- Spray foam: Not a duct sealant. It expands unpredictably, can distort duct connections, and is messy to remove when a professional has to redo the job. Do not use spray foam on ductwork.
One note on material safety. Water-based mastic is low-odor and generally safe to apply in a ventilated space. But you are still working in an attic, often in the heat, sometimes in a confined posture. Wear gloves. Wear a dust mask if there’s insulation debris. Take breaks. Heat exhaustion in a Los Angeles attic is a real risk, especially between May and October. A homeowner who passes out on rafters is a worse outcome than a leaking duct boot.
Why Aerosol Duct Sealing Is Never a DIY Product
Aerosol duct sealing, often known by the brand name Aeroseal, is a process where a computerized machine injects a mist of sealant particles into a pressurized duct system. The particles collect at the edges of leaks and build up until the gaps are sealed from the inside. It’s an effective technology for sealing duct systems where the leaks are numerous or difficult to access.
It is also absolutely, categorically, never a DIY product. Here’s why.
- The equipment costs tens of thousands of dollars. This is not a rental. Aerosol sealing machines are specialized commercial equipment. They are not sold at home improvement stores, and no legitimate supplier will rent one to a homeowner.
- The process requires a calibrated pressure test before, during, and after the sealing. The machine must know the exact starting leakage of the system to inject the correct amount of sealant and to verify the results. Without calibrated measurement, you have no idea whether the seal worked or where the sealant went.
- The sealant is a vinyl acetate polymer that is designed to be injected in a precise way. It is not something you brush on from a bucket. The injection nozzle, the airflow, the temperature, and the pressure all matter. Getting any of them wrong means a failed job or sealant deposited where it shouldn’t be.
- Blocking off registers improperly during the process can damage the system. The duct system is sealed and pressurized during aerosol injection. If registers are not properly sealed, sealant escapes into the living space. If they are sealed too aggressively, the pressure can damage duct connections.
In our experience serving Los Angeles homes since 2004, we’ve seen the aftermath of homeowners who tried to improvise aerosol sealing. It never ends with a properly sealed duct system. It ends with a bigger repair bill.
Los Angeles Code, Permits, and Warranty Considerations
Los Angeles operates under California’s Title 24 energy code, which sets standards for building energy efficiency. Duct sealing requirements have been part of California code for new construction and major remodels for years. For existing homes, the rules are more nuanced.
Most straightforward duct sealing work, DIY or professional, does not require a permit in Los Angeles. Sealing accessible duct boots, applying mastic to visible seams, and other maintenance-level repairs fall under routine maintenance. That changes when the work involves replacing significant portions of the duct system, relocating ducts, or modifying the air handler connections. Those projects may trigger permit requirements through the Los Angeles Department of Building and Safety.
One specific angle to understand: if you are replacing a furnace or air conditioning unit in Los Angeles, the contractor may be required to verify that the duct system meets current leakage standards. That often means a duct leakage test and, if the system fails, professional sealing. DIY sealing that was done before a system replacement may or may not bring the system into compliance. The test is the only way to know.
Warranty considerations are another factor. Most HVAC equipment manufacturers state that improper installation or modification can void the equipment warranty. If you seal a duct connection at the air handler and the sealant causes an airflow obstruction or contaminates a component, the manufacturer may decline a future warranty claim. The same logic applies to the labor warranty from the installing contractor, if one exists. Before you do DIY duct sealing near the equipment itself, check your paperwork. If the equipment is under warranty, leave that connection alone or call the contractor who installed it.
The Honest Cost-Benefit Math for LA Homes
Let’s put numbers on the table. DIY duct sealing of accessible boots and seams costs about $30 to $60 in materials for a typical 2,000-square-foot Los Angeles home. That’s mastic, a couple of chip brushes, mesh tape, and gloves. If you do the work correctly on visible connections, you may reduce total duct leakage by five to ten percent. That’s real money over time in a cooling-dominated climate like Los Angeles, but it’s also a small reduction compared to the system’s total leakage.
A professional test-and-seal package for that same home in Los Angeles typically runs between $600 and $1,200 depending on the system size, accessibility, and the severity of leakage found. That price includes a duct leakage test before and after, sealing of all accessible connections in the attic and crawl space, and verification that the work actually reduced leakage to an acceptable level. Some homes with severe leakage or complex return plenum access may run higher.
The payback math works like this. If your Los Angeles home has a 20 to 30 percent duct leakage rate, which is common in older homes, sealing the system down to 5 to 10 percent can cut the energy used to cool and heat your home by 15 to 25 percent. On a typical LA cooling bill of $200 to $300 per month during peak season, that’s $30 to $75 per month in savings during the months your air conditioner runs hardest. Across a full year, including milder months, most homeowners in Los Angeles see a payback on professional duct sealing within 2 to 4 years.
The other part of the math is indoor air quality. Duct leakage on the return side pulls unfiltered air into the system. In Los Angeles, that air may carry attic insulation fibers, dust, or pollutants from outside. Sealing the ducts is one of the most effective things you can do to keep the air inside your home cleaner. That benefit doesn’t show up directly on an energy bill, but it matters to anyone who breathes in the house.
If you want a professional duct sealing evaluation, Duct Sealing in Los Angeles is our core service area, and we provide written pricing before any work starts.
Common Mistakes to Avoid
- Sealing the wrong connection because it was easy to reach. We see this in Los Angeles attics constantly. A homeowner seals a visible supply boot and feels good about it, but the real leak was at the return plenum on the other side of the attic. The energy savings never materialize because the biggest leak was never touched. Without a pressure test, you’re guessing.
- Using cloth duct tape because it says “duct” in the name. Cloth duct tape fails in attics. The adhesive breaks down under heat, and the tape peels away. Within a year in a hot San Fernando Valley attic, it’s doing nothing.
- Applying mastic over dirt and old adhesive without cleaning the surface. Mastic sticks to clean surfaces. If the surface is dusty or greasy, the mastic will fail within months. Surface preparation is not optional.
- Sealing a return leak in a garage without understanding the consequences. A leaking return in a garage pulls air from the garage into the home. That air may contain carbon monoxide from a car or stored chemicals. Sealing it is an operational fix, but if you cover the gap without recognizing the broader problem, you may leave contamination points elsewhere in the system. This is the kind of situation where a professional assessment matters.
- Believing that a visible gap is the only gap. Duct leakage is rarely a single failure point. Systems leak at multiple connections, often in proportion to the system’s age and installation quality. Sealing one gap and declaring the job done leaves most of the problem in place.
- Caulking or sealing over a register boot without checking the connection from the attic side. The register boot has connections on both sides. Sealing from the interior side does nothing for the attic-side connection, which is where most leakage occurs. You have to work from the unconditioned space.
- Ignoring the temperature in the attic. Los Angeles attics are dangerous in summer. Working in a 140-degree attic without hydration and breaks is a heat injury waiting to happen. Do attic work early in the morning, or wait for cooler months.
When to Call a Professional
You should call a professional when the leak is in a return plenum, inside a wall cavity, behind drywall, or at the air handler itself. You should also call when you’ve sealed obvious boots and your energy bills haven’t budged, because that means the real leakage is elsewhere. The decision to hire a professional is not about whether you can apply mastic. It’s about whether you can find the leaks worth sealing, verify the work, and access the locations where the leaks actually are. In those situations, the mastic is the cheap part. The instrumentation, the access, and the knowledge are what you’re paying for. Hollis Air Duct Cleaning home offers free estimates for Los Angeles homeowners. Roy Castellanos and the team can answer questions at (361) 326-5060.
Frequently Asked Questions
Professional duct sealing in Los Angeles typically costs between $600 and $1,200 for a standard single-family home, depending on system size, accessibility, and the amount of leakage found during testing. That price includes a before-and-after duct leakage test, sealing of accessible connections, and verification that the work actually reduced leakage. For an exact quote on your home, call (361) 326-5060. Estimates are free.
Yes, you can seal visible, accessible duct boots and seams with water-based mastic, and that’s a legitimate DIY project. The key limitation is that you can only seal what you can see and reach. Most duct leakage in Los Angeles homes occurs in locations that are not visible or accessible without professional equipment, so DIY sealing typically addresses only a fraction of the total leakage.
Water-based mastic is the correct material for DIY duct sealing. It’s a thick paste that goes on wet and cures to a durable seal specifically formulated for ductwork. For gaps wider than a quarter inch, embed foil-backed mesh tape into the mastic for structural support. Never use cloth duct tape, silicone caulk, or spray foam on ductwork.
Most routine duct sealing work in Los Angeles does not require a permit. Sealing accessible boots, applying mastic to visible seams, and similar maintenance tasks are considered routine maintenance. Permits may be required when duct sections are replaced, relocated, or when the air handler connection is modified. If your project involves those elements, check with the Los Angeles Department of Building and Safety.
DIY duct sealing can void an HVAC equipment warranty if the work is done improperly at the air handler or plenum connections. Most manufacturers state that improper installation or modification voids coverage. If your equipment is under warranty, leave the connections near the equipment alone or contact the installing contractor before doing any sealing work.
A properly sealed duct system in a Los Angeles home can reduce heating and cooling energy use by 15 to 25 percent when the original leakage was 20 to 30 percent, which is common in older homes. On a typical LA cooling pattern, that often translates to a payback on professional sealing within 2 to 4 years. The savings depend on your specific system, and a duct leakage test is the only way to know your starting point. For a full assessment, call (361) 326-5060.
No. Aerosol duct sealing is not a DIY product. The equipment costs tens of thousands of dollars, the process requires calibrated pressure testing, and the sealant must be injected under controlled conditions. Any company or product that claims to sell a DIY aerosol duct sealing kit is not legitimate.
The most reliable way to know if your ducts are leaking is a professional duct leakage test, which pressurizes the system and measures exactly how much air escapes. Signs that suggest leakage include rooms that never cool evenly, energy bills that climb during summer, visible dust around registers, and a system that runs constantly without reaching the set temperature. Our Air Duct Cleaning in Los Angeles service often reveals connection problems during the cleaning process, since we see the ductwork from the inside.
The Bottom Line
DIY duct sealing has a real place, but it’s a narrow place. You can seal visible boots and seams in your attic, spend $30 to $60 on materials, and make a small dent in your duct leakage. That’s worth doing. What you can’t do is find the leaks that matter most, verify the result, or safely access the locations where the majority of conditioned air escapes. In Los Angeles, where attics run hot and older duct systems leak heavily, the biggest returns come from a professional pressure test and a comprehensive sealing job that targets the entire system. The mastic is the cheap part. Knowing where to put it is what costs money and what saves money over the life of the house.
If you’re in Los Angeles and want an honest assessment of your duct system, call Dryer Vent Cleaning in Los Angeles is not directly related, but our main line at (361) 326-5060 will connect you with a live person who can schedule a free duct sealing estimate. Written pricing before any work starts, and the 365-Day Done Right Promise backs every job we do.
Written by Roy Castellanos, Owner at Hollis Air Duct Cleaning, serving Los Angeles since 2004. Browse our more guides & resources.