
Last updated October 9, 2026
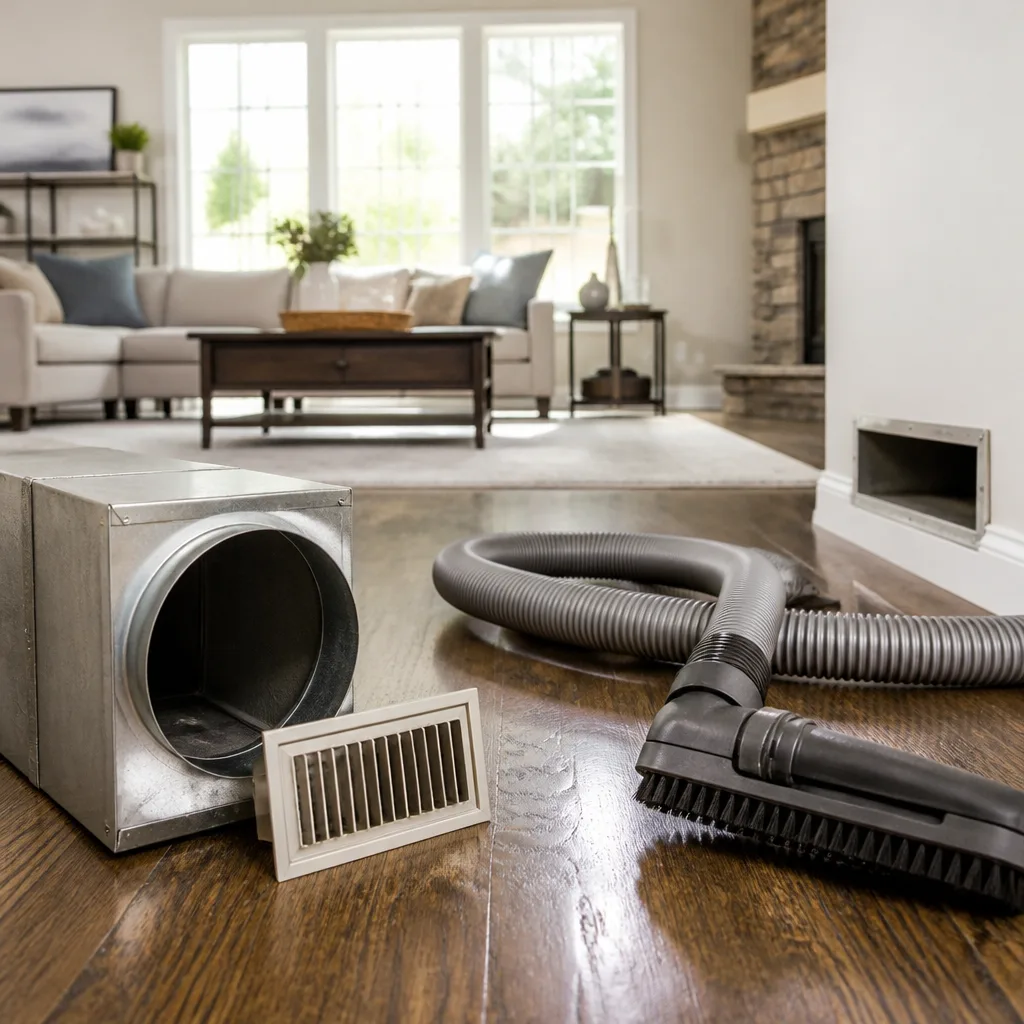
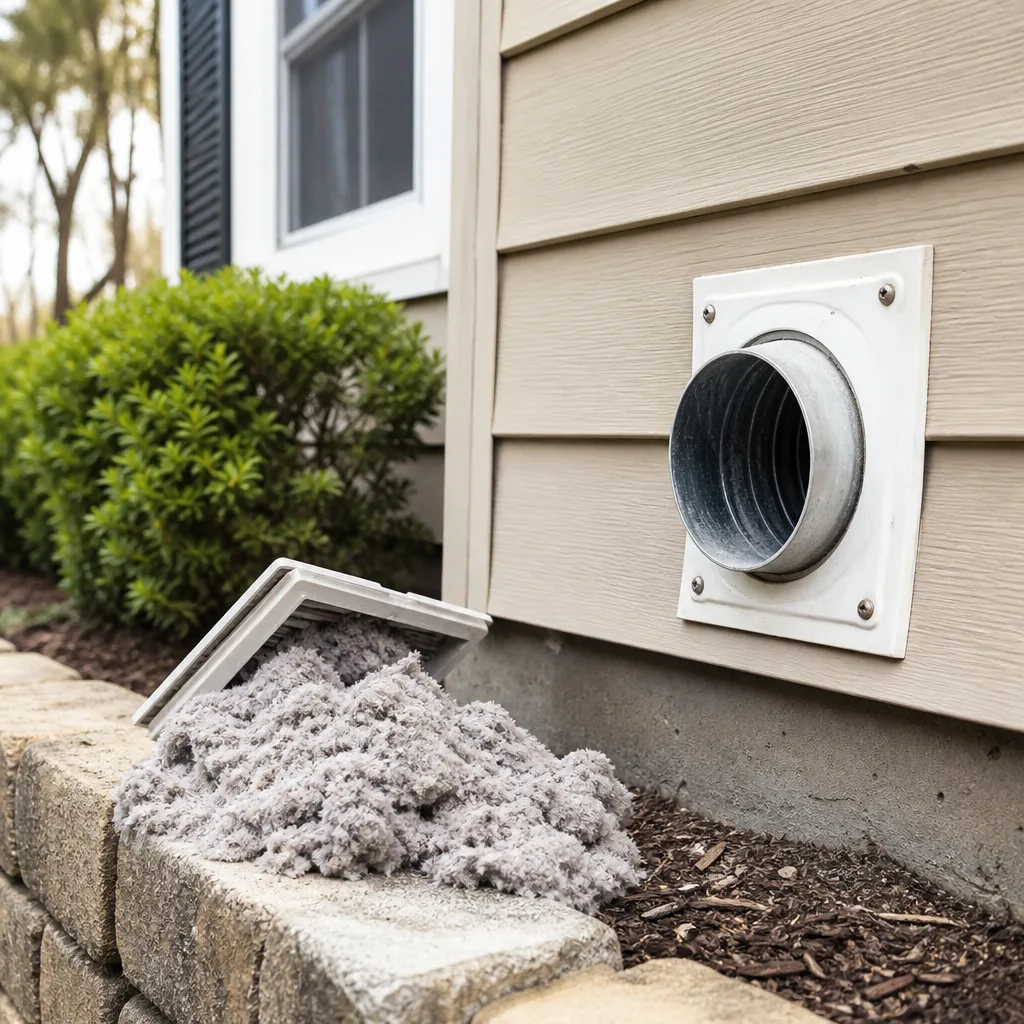
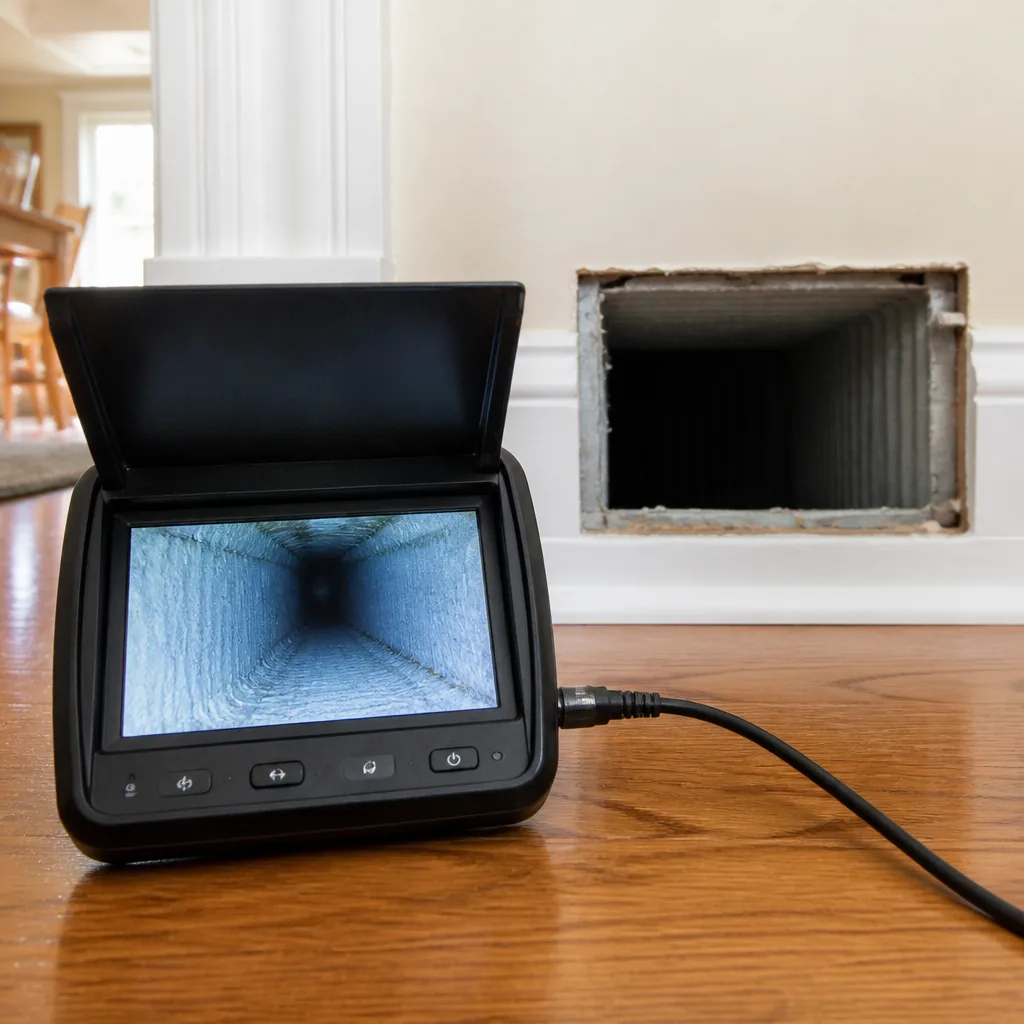
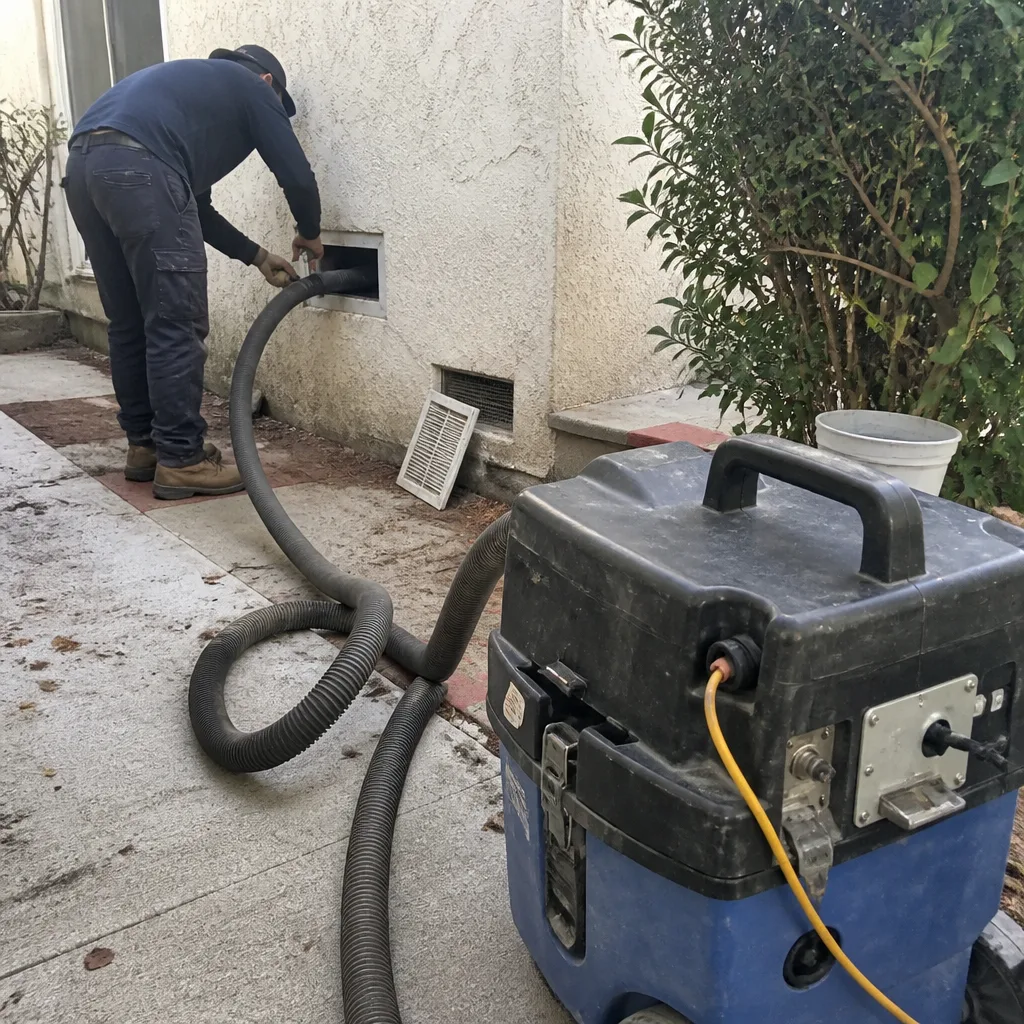
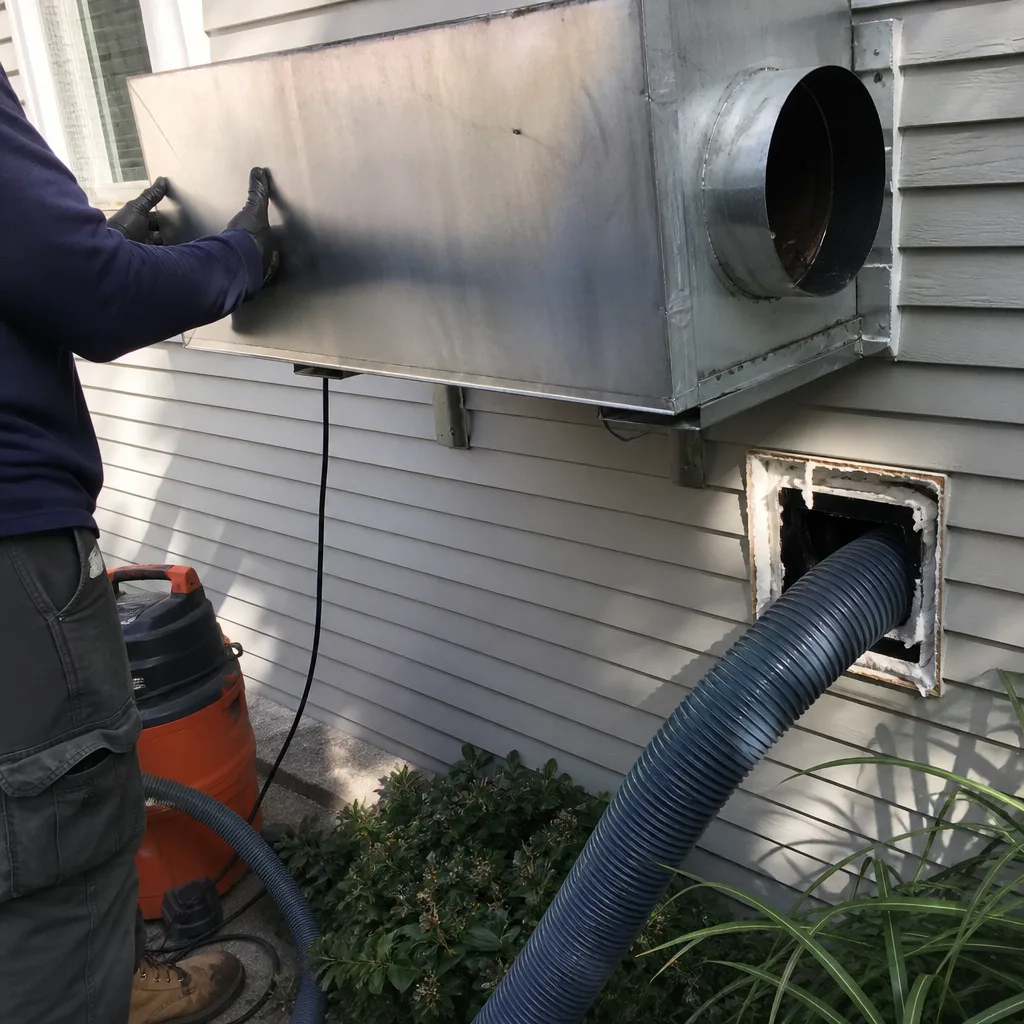
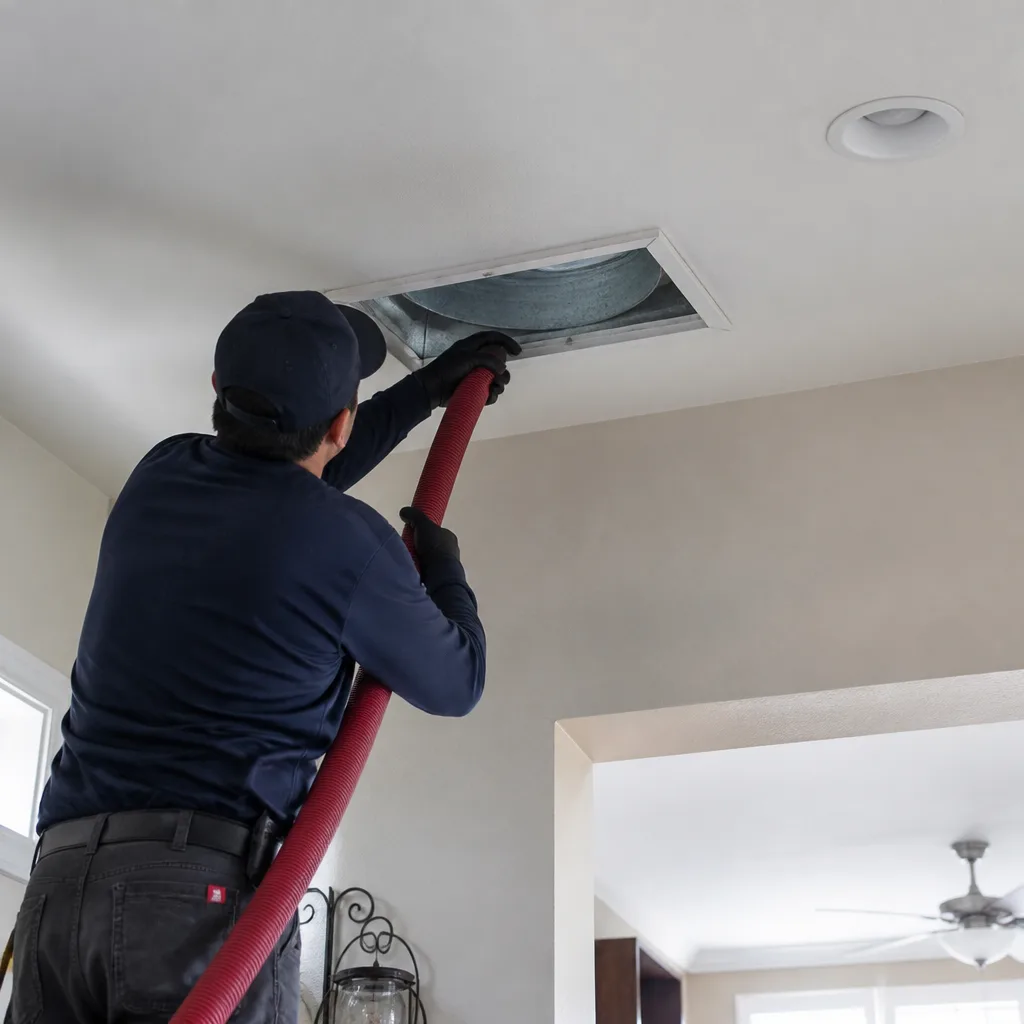
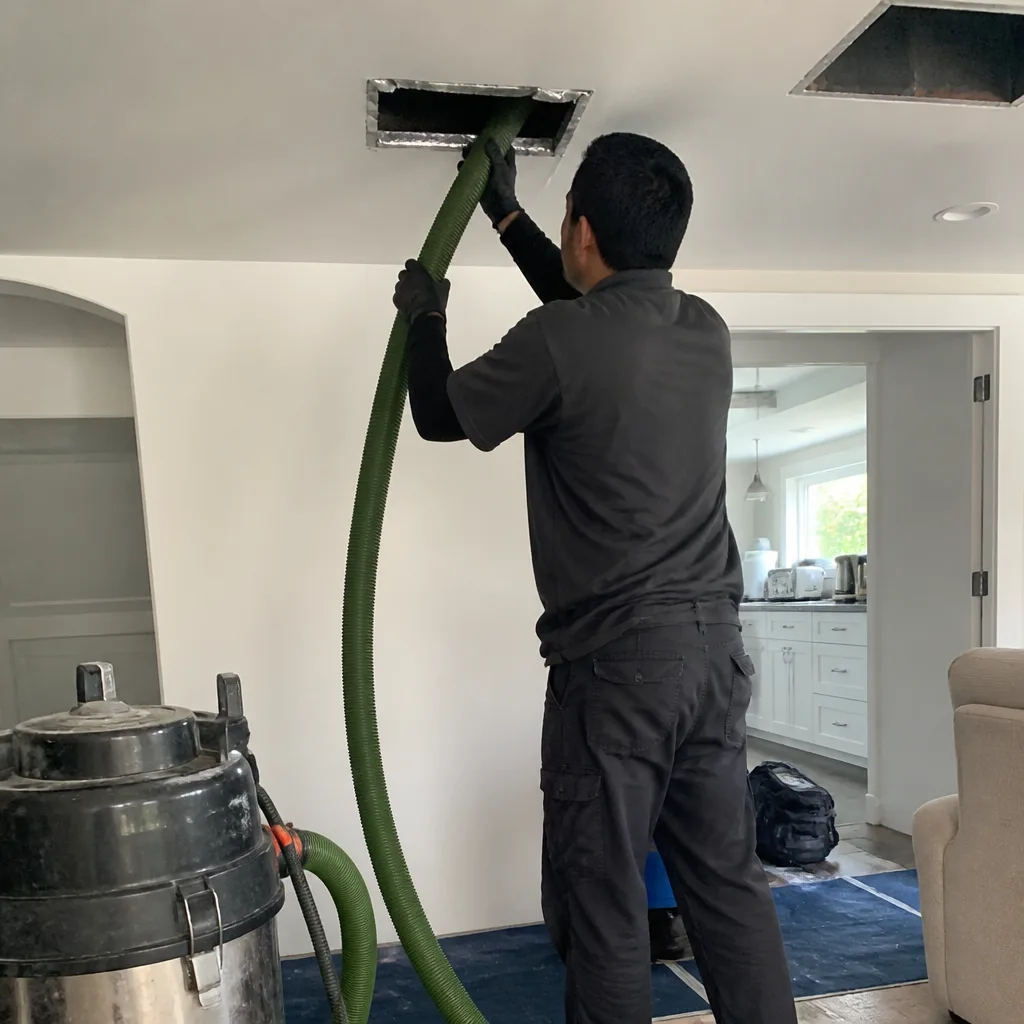
Whole-system duct and dryer vent check with before-and-after photos - you see exactly what came out of your vents
That "$99 whole-house special" is a bait ad - the real number appears once they are in your hallway, or the "clean" is a shop-vac at the register. We photograph the inside of your ducts before and after instead.

 Before
 After
After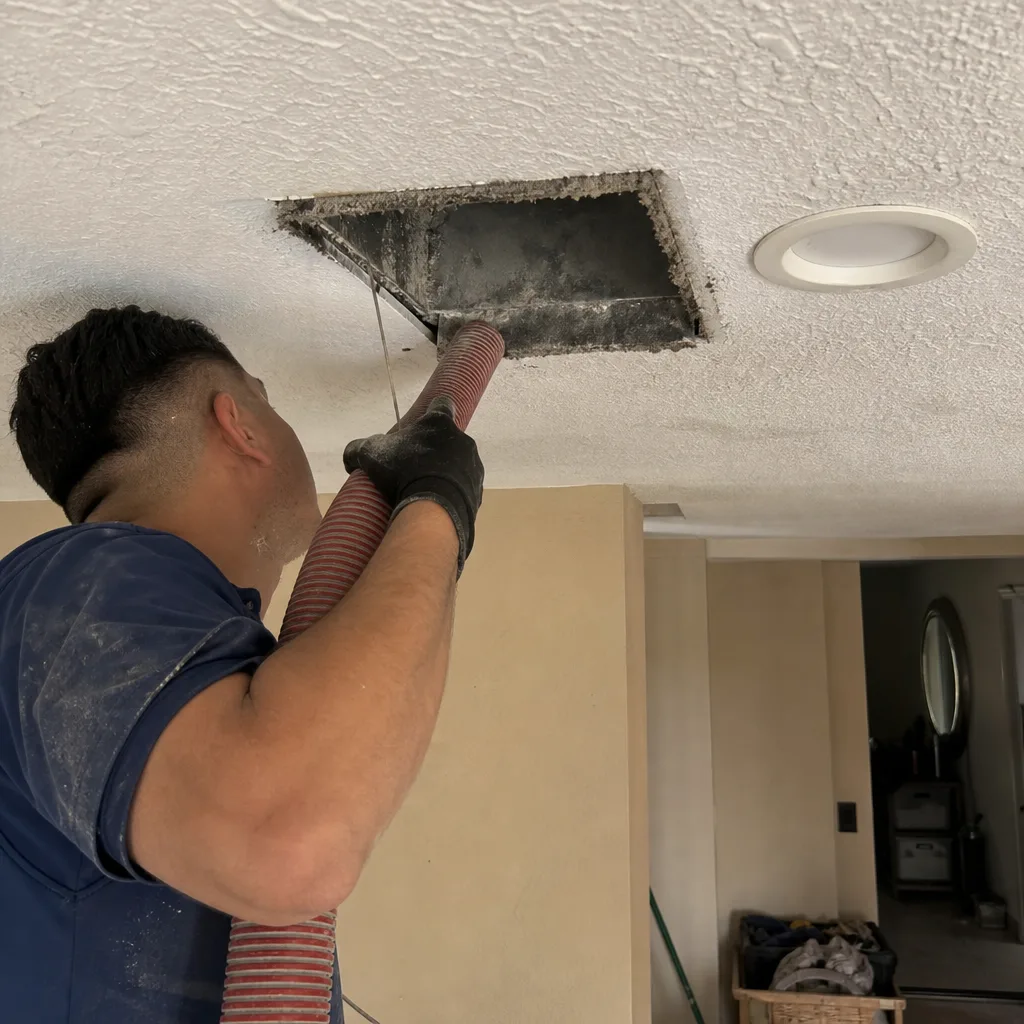 Before
 After
After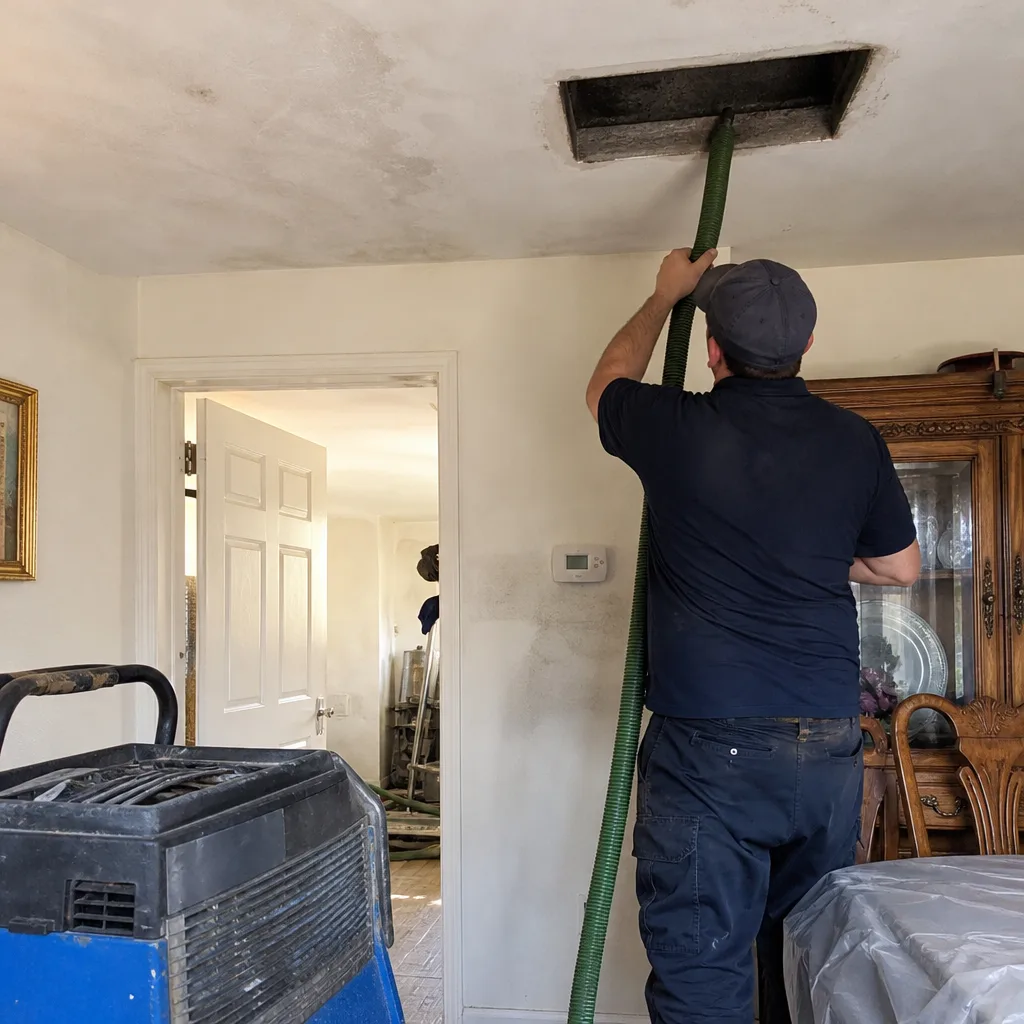 Before
 After
AfterDuct Sealing Troubleshooting: Common Problems and How to Fix Them
Here’s a scenario we see in Los Angeles more often than most contractors will admit: a homeowner pays $1,200 to $2,800 for duct sealing, and ninety days later the back bedroom is still eight degrees warmer than the kitchen. The sealing wasn’t necessarily botched. The diagnosis was incomplete. In cities like Los Angeles, where homes span everything from 1920s bungalows in Highland Park to 1990s tract houses in Porter Ranch, the failure point is rarely the mastic itself. It’s that somebody sealed the wrong leak, or missed the one that mattered. This guide walks through the four most common reasons duct sealing doesn’t solve the comfort problem, how pressure testing confirms whether a job actually reduced leakage, what mastic failure looks like within a year, and the checklist of questions every homeowner should ask before paying for Duct Sealing services again.
Quick Answer
When duct sealing doesn’t fix uneven temperatures or high utility bills, the most common cause is that the wrong leaks were sealed, not that sealing as a method failed. A pre- and post-sealing duct blower door test is the only way to confirm that the leaks causing the comfort problem were actually addressed. If a sealed system still underperforms, start by checking the boot-to-register connections, return-side leaks, and whether the duct sizing itself was ever correct. For Duct Sealing Warning Signs Every Homeowner Should Know, see our detailed guide.
Table of Contents
- Problem 1: The Wrong Leak Got Sealed
- Problem 2: Boot-to-Register Connections Were Ignored
- Problem 3: Return-Side Leaks Were Missed
- Problem 4: Duct Sizing Was the Real Issue All Along
- What a Duct Blower Door Test Actually Measures
- Why Mastic Cracks Within a Year
- Aeroseal Troubleshooting: When It Can’t Reach the Leak
- Questions to Ask When a Sealed System Still Underperforms
Problem 1: The Wrong Leak Got Sealed
Duct systems leak in different places, and those places do not all matter equally. A leak in a supply trunk inside a conditioned crawlspace loses less conditioned air than a leak in a branch run inside a hot attic. A leak on the return side of the system doesn’t lose conditioned air at all, but it pulls in dust, humidity, or garage fumes. If a contractor sealed the easiest-access leaks without mapping which ones were causing the actual complaint, the job will not solve the problem.
We’ve walked into Los Angeles homes where a previous crew sealed every visible joint in the attic but left a disconnected branch run under the house. The homeowner paid for sealing and got zero comfort improvement because the dominant leak was never found. This is the single most common failure mode in duct sealing, and it happens because many contractors seal what they can see without pressure-testing to find what they can’t.
Here’s how this looks in practice:
- Comfort complaint: One room hot, another cold, or system runs constantly during a Los Angeles summer heat wave.
- What got sealed: Visible trunk line joints in the attic, because those were easy to reach.
- What was missed: A 4-inch gap where a branch line pulled away from a boot in a wall cavity, or a return plenum joint that opened up behind a closet wall.
- Result: The sealed joints were leaking only 2-3% of total airflow each. The missed gap was leaking 15-20%. The job barely moved the needle.
Pressure testing before and after sealing is the difference between sealing leaks and sealing problems. Without a baseline number, nobody knows whether the dominant leak was even touched. With a before/after comparison, the answer is on the gauge, not in a sales pitch.
Problem 2: Boot-to-Register Connections Were Ignored
The boot is the metal or plastic transition piece that connects a round duct branch to the rectangular register in the floor, wall, or ceiling. In our experience, this joint is the most frequently skipped connection on a sealing job. It’s also one of the highest-leakage points in a residential duct system, because the boot sits inside a wall cavity or floor joist bay where air escaping it never makes it into the room.
Here’s the mechanic: the conditioned air travels through the duct, hits the boot, and is supposed to move through the register grille into the living space. If the boot is not sealed to the sheetrock, subfloor, or wall framing, a meaningful portion of that air spills into the wall cavity or under the floor. The room never gets the airflow it should, and the homeowner feels the system “isn’t reaching” that part of the house.
In Los Angeles, this is especially common in homes built before the 1980s, where original registers may have been retrofitted or replaced without resealing the boot. It’s also common in two-story homes in the San Fernando Valley, where upstairs bedrooms often run warmer in summer regardless of thermostat setting, because a portion of the cooled air is escaping into joist spaces before it ever reaches the room.
The fix is straightforward: the boot gets sealed to the surrounding structure at every plane where air can escape, using mastic or a mastic-compatible sealant rated for that application. The register grille itself is not the sealing point. Sealing the grille face to the wall does nothing if the boot behind it is still wide open.
Problem 3: Return-Side Leaks Were Missed
Most duct sealing conversations focus on supply-side leaks, because that’s where conditioned air escapes. But return-side leaks cause their own set of problems, and missing them is a frequent reason a sealing job leaves a homeowner unsatisfied.
Return ducts run at negative pressure. Instead of pushing air out through gaps, they pull air in from wherever they’re running, including attics, crawlspaces, wall cavities, and garages. In Los Angeles, where attached garages are common and often house water heaters, stored chemicals, or vehicles, a return leak in a shared wall pulls garage air directly into the home’s breathable air. That’s a real air quality issue, not just a comfort issue.
Return leaks also reduce system performance. The blower has to work harder to move air through a leaky return path, and the air being pulled in is unconditioned, so the system has to cool or heat it from scratch. A homeowner with a sealed supply side but a leaking return side may notice the system still runs long cycles and still produces uneven temperatures, even though the supply work was done correctly.
Pressure testing a return side requires measuring leakage under negative pressure, which a duct blower door test does. A contractor who only tests the supply side can deliver a good-looking leakage number while leaving significant return-side gaps unaddressed.
Problem 4: Duct Sizing Was the Real Issue All Along
Sometimes the sealing job was fine. The system still doesn’t deliver comfort because the ducts were sized wrong from the day the house was built, or because equipment was changed out without resizing the distribution.
Duct sizing determines how much air reaches each room at a given blower speed. If a room needs 200 CFM to stay comfortable and the duct feeding it can only move 140 CFM, no amount of sealing will fix that room. Sealing reduces loss, but it cannot create capacity that the duct cross-section doesn’t have. A perfectly sealed undersized duct is still an undersized duct.
This shows up in specific ways in Los Angeles housing stock:
- Remodeled homes: A room addition in Silver Lake or Echo Park gets a duct branch run off the existing trunk, but the trunk was never upsized. The added room never receives enough air.
- HVAC replacements: An old 3-ton AC unit gets swapped for a 4-ton unit, but the existing 3-ton ductwork stays in place. The ducts can’t move the additional airflow, pressure builds, and leaks get worse over time.
- Converted spaces: A garage conversion in the Valley becomes a bedroom or office, with a duct run stretched from the far end of the system. The lost pressure makes every room downstream of the tap suffer.
If a homeowner has sealed the ducts and still has a room that won’t hold temperature, the next question is not “what else can we seal?” It’s “was this room ever getting the right airflow in the first place?” A static pressure reading and a room-by-room airflow balance test will answer that question. Sealing is the right fix for leakage. It is not the right fix for capacity.
What a Duct Blower Door Test Actually Measures
A duct blower door test, which is sometimes called a duct leakage test or a duct pressurization test, measures how much air escapes from the duct system at a standardized pressure, typically 25 pascals. Curious about timing? Read How Long Does Air Duct Cleaning Take? Timelines and What to Expect for related insights. The unit sits over the air handler or a return grille and uses a calibrated fan to pressurize or depressurize the ductwork, while a manometer records the airflow required to hold that pressure. The result is a CFM number, often expressed as CFM25, meaning the cubic feet per minute of leakage at 25 pascals.
Here’s what that number tells you and what it doesn’t:
- Before sealing: The baseline leakage number tells you how leaky the system is compared to the equipment it’s attached to. As a rough rule, a tight system leaks less than 5% of total system airflow. A leaky system can leak 20%, 30%, or more.
- After sealing: The post-seal number tells you whether the job actually reduced leakage, and by how much. A pre-seal measurement of 350 CFM25 and a post-seal measurement of 120 CFM25 means the work removed 230 CFM of leakage. That’s measurable improvement.
- What the test does not tell you: It does not tell you where the leaks are. It gives you a total number, not a map. Finding specific leak locations requires separate methods: visual inspection, smoke testing, or zone testing.
Many Los Angeles homes have ducts in unconditioned attics, where summer surface temperatures routinely exceed 140°F in July and August. Leakage in that environment is expensive, because the air escaping through gaps is air you paid to cool, spilling into a space where it does no good. A pre/post test tells you exactly how much of that loss you eliminated.
Any contractor who performs duct sealing and does not offer or perform a duct blower door test is working blind. The test is not an upsell; it’s the diagnostic that tells everyone on the job whether the right work got done.
Why Mastic Cracks Within a Year
Duct mastic is a thick, water-based sealant that cures to a flexible, airtight film. Applied correctly, it holds up for the life of the duct system. Applied incorrectly, it cracks, separates, or peels within a season or two. When a homeowner says the sealing failed, the material is usually not the villain. The application was.
Here are the most common causes of early mastic failure we see in Los Angeles homes:
- Mastic applied over a gap instead of sealing the gap first. Mastic is a sealant, not a gap filler. If there’s a quarter-inch gap between a boot and the wall, mastic alone will bridge it initially, then crack as the structure moves. The gap needs mechanical support first: a collar, a patch, or a proper fitting.
- The surface was never cleaned. Ducts in attics accumulate dust, especially in Los Angeles, where fine particulate settles on everything and wildfire season adds an ashy top layer. Mastic applied over dust bonds to the dust, not the metal. The dust layer lets go, and the mastic goes with it.
- The wrong product was used. Some “sealants” on the market are not true duct mastic. They’re caulks or paints with a similar label. True duct mastic is UL 181-rated and stays flexible after curing. A brittle product cracks as the metal expands and contracts through a 40-degree daily temperature swing in an attic.
- The mastic was applied too thin. A brushed-on coat that dries to the thickness of a coat of paint will not bridge movement. UL 181 mastic needs enough film thickness to hold up under pressure and thermal cycling.
- The joint is still moving. If a duct hanger has failed or a run is sagging, the joint is under constant mechanical stress. No mastic, regardless of brand, will hold a joint that flexes every time the blower cycles.
If a previous sealing job shows cracked or peeling mastic within a year, the right question is not “what brand of mastic did they use?” It’s “what was the condition of the joint before they sealed it, and was the surface prepared correctly?” In our work with professional-grade sealing materials, we use UL 181-rated mastic and prepare every surface before application, because mastic over dust is the same as no mastic at all.
Aeroseal Troubleshooting: When It Can’t Reach the Leak
Aeroseal is an aerosol-based duct sealing technology that injects a fog of sealant particles into a pressurized duct system. The particles collect at the edges of leaks and build up until the gap closes. It’s effective in certain situations, but it is not a universal solution, and understanding its limitations helps explain why an Aeroseal job may not have fixed the problem.
The most common reasons Aeroseal doesn’t fully resolve a leakage issue:
- Leak size thresholds. Aeroseal works best on smaller leaks, typically gaps up to about 5/8 of an inch. Leaks larger than that may not seal because the aerosol particles get blown through the gap before they can accumulate. A system with a disconnected branch or a gaping boot connection will not be fixed by Aeroseal alone.
- Access restrictions. The Aeroseal process seals the duct system from the inside. It cannot seal leaks in locations that are blocked off from the aerosol flow, including sections of ductwork that are crushed, kinked, or closed off by a failed damper.
- The leak is inside conditioned space. Aeroseal seals all leaks, including those that don’t matter. A leak inside a conditioned closet or a conditioned crawlspace was never costing the homeowner comfort or money. Sealing it consumes material but produces no measurable benefit.
- Post-seal verification. Without a before-and-after duct blower door test, an Aeroseal job can claim success without demonstrating it. The machine produces a number, but a homeowner should see the pre- and post-leakage CFM numbers to confirm the actual reduction.
We’ve followed behind Aeroseal jobs in Los Angeles where the leakage number dropped from 400 CFM25 to 280 CFM25, which is real improvement, but the dominant leak was a disconnected boot that the aerosol could not address. The homeowner had paid for an improvement that did not solve the original problem. That’s not a knock on the technology; it’s a knock on the diagnosis that chose the technology without locating the leak first.
Questions to Ask When a Sealed System Still Underperforms
If you’ve paid for duct sealing and one room is still hot in August, start with the following questions, whether you’re asking us or any other duct sealing contractor in Los Angeles. These questions do two things: they tell you whether the previous work was done correctly, and they tell you whether the next contractor is thinking in terms of diagnosis or just selling another pass.
- “Do you have the before and after CFM25 numbers from the last sealing job?” If the answer is no, the previous work was never verified. Any new work should start with a baseline test.
- “Was the boot-to-register connection at each register checked and sealed?” If the answer is vague, that’s your missing leak.
- “Was a return-side leakage test performed, or only supply-side?” Return leaks are real and often missed. A system tested only on supply side can still have significant total leakage.
- “Has the static pressure been measured?” High static pressure indicates a restriction somewhere: undersized ducts, a dirty coil, a pinched flex run. Sealing won’t fix that.
- “Was a room-by-room airflow balance test done after sealing?” This tells you whether the problem room is now receiving the CFM it needs, or whether the duct serving it was always undersized.
- “What’s the warranty on the sealing work, and what does it cover?” We back our duct sealing with a 365-Day Done Right Promise: if the work fails within a year, we return and make it right at no charge, including a free second visit. Not every crew in Los Angeles offers that in writing.
Common Mistakes to Avoid
- Re-sealing without re-testing. Running another pass of mastic over joints that were already sealed, without measuring leakage first, is the definition of working blind. A pre-test tells you where the remaining problem is.
- Sealing only what’s easy to reach. Attic trunk lines are convenient. Wall-cavity boots and crawlspace returns are not. The inconvenient leaks are often the dominant ones.
- Ignoring the boot-to-register connection. A sealed duct that dumps air into a wall cavity is still a failed delivery system. Register-level sealing matters.
- Using painter’s caulk instead of UL 181-rated mastic. Caulk dries hard and cracks as ducts move. Mastic stays flexible. The wrong product cannot be fixed by applying more of it.
- Accepting a sealing job with no before/after numbers. Without a baseline, a contractor can claim improvement they never measured. The gauge is the proof.
- Treating duct sealing as a substitute for duct sizing. A sealed undersized duct is still undersized. Airflow balance testing separates the leakage problem from the capacity problem.
- Skipping return-side testing. Supply leaks cost you money. Return leaks cost you money and pull in air you don’t want to breathe. Both need to be measured.
When to Call a Professional
Some duct sealing problems are visible and straightforward: a separated joint in an accessible attic, a register boot with a visible gap, a flex run that pulled loose from a plenum. Others are invisible and require measurement: hidden leaks in wall cavities, return-side gaps behind finished surfaces, static pressure problems that point to a restriction. If you’ve already paid for sealing and the problem room is still the problem room, that’s not a sign to patch another joint. It’s a sign that the diagnosis needs to be redone with instruments. Hollis Air Duct Cleaning offers free estimates in Los Angeles. Call (361) 326-5060 and we’ll bring the pressure-testing equipment, measure what’s actually leaking, and give you a written price before any work begins.
Frequently Asked Questions
Whole-home duct sealing in Los Angeles typically runs from $1,200 to $2,800, depending on the size of the system, the number of registers, and how much of the ductwork is accessible. A partial sealing job covering one trunk line or one branch run costs less, usually $400 to $900. The price should be written down before any work starts, and our estimates never move once the technician is inside your home.
The most common reason is that the leak serving that room was not located and sealed during the first job, often at the boot-to-register connection inside the wall or floor. The second most common reason is that the duct feeding that room is undersized and was never going to deliver enough airflow no matter how tight the system became. A room-by-room airflow test will tell you which problem you have. Call (361) 326-5060 and we’ll measure it.
Ask for the before-and-after CFM25 leakage numbers from the duct blower door test. If the contractor can’t provide both numbers, the work was never verified. A real sealing job includes a measurable reduction in leakage, and any legitimate contractor will show it to you on the gauge.
No. Sealing stops air from escaping through gaps, but it cannot increase the volume of air a duct can carry. If a room needs more airflow than the duct cross-section can provide, the fix is duct replacement or resizing, not sealing. This is a common misdiagnosis in older Los Angeles homes with original ductwork that was sized for the equipment and insulation levels of a previous era.
UL 181-rated duct mastic, applied to a properly prepared surface, is designed to last the life of the duct system. Failures within a year almost always trace back to surface preparation, application thickness, or a joint that was still moving when it was sealed. Our Duct Sealing in Los Angeles work is covered by the 365-Day Done Right Promise, meaning if it fails within a year, we return and fix it at no charge.
It can, specifically when return-side leaks are the source of the dust. Return ducts under negative pressure pull in air from attics, wall cavities, and crawlspaces, and that air carries fine particulate into the living space. Sealing those return leaks reduces the dust load. Sealing supply-side leaks, by contrast, helps with comfort and efficiency but does little for dust. A professional air duct cleaning in Los Angeles plus return-side sealing is often the combination that finally resolves a chronic dust problem.
The Bottom Line
Duct sealing fails to fix comfort problems when the diagnosis was wrong, not because sealing as a method doesn’t work. The wrong leaks get sealed, the boot connections get skipped, the return side goes untested, or the real issue was always undersized ducts. Every one of these failure modes is detectable before money changes hands, by pressure testing, airflow balancing, and static pressure measurement. If a sealed system still underperforms, don’t re-seal without re-measuring. The gauge answers questions that opinion cannot. And if you’re in Los Angeles, we’ll bring the gauge to you, along with a written price and a one-year guarantee that says exactly what happens if the work fails. Explore our more guides & resources for additional homeowner tips.
Written by Roy Castellanos, Owner at Hollis Air Duct Cleaning, serving Los Angeles since 2004.