
Last updated October 9, 2026
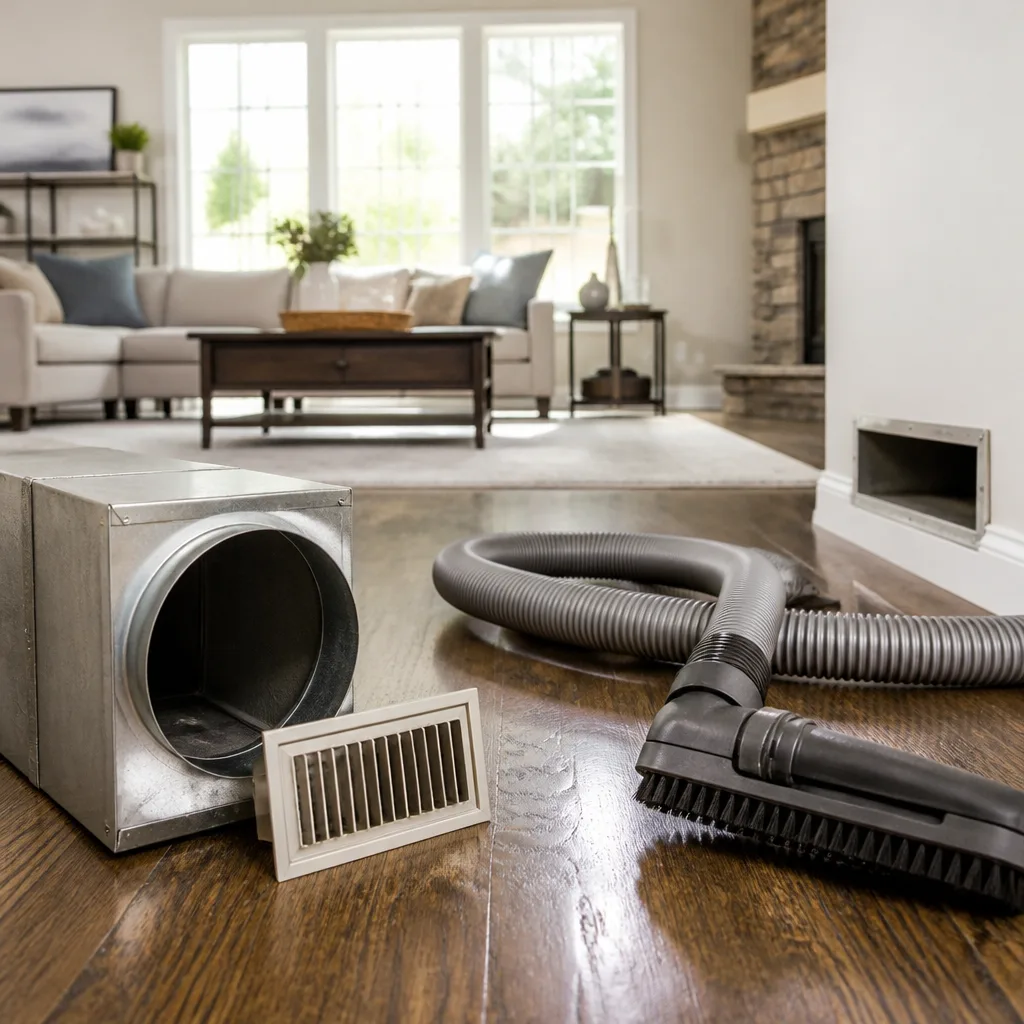
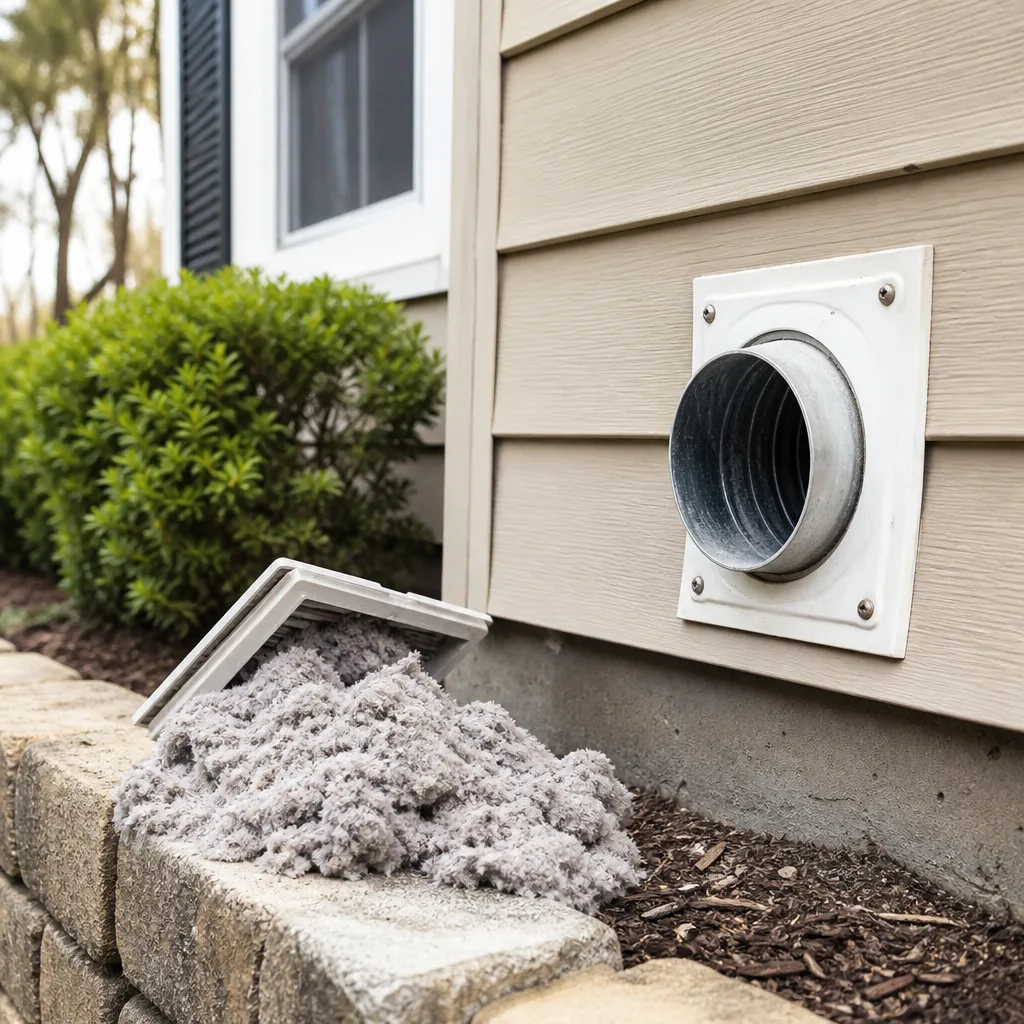
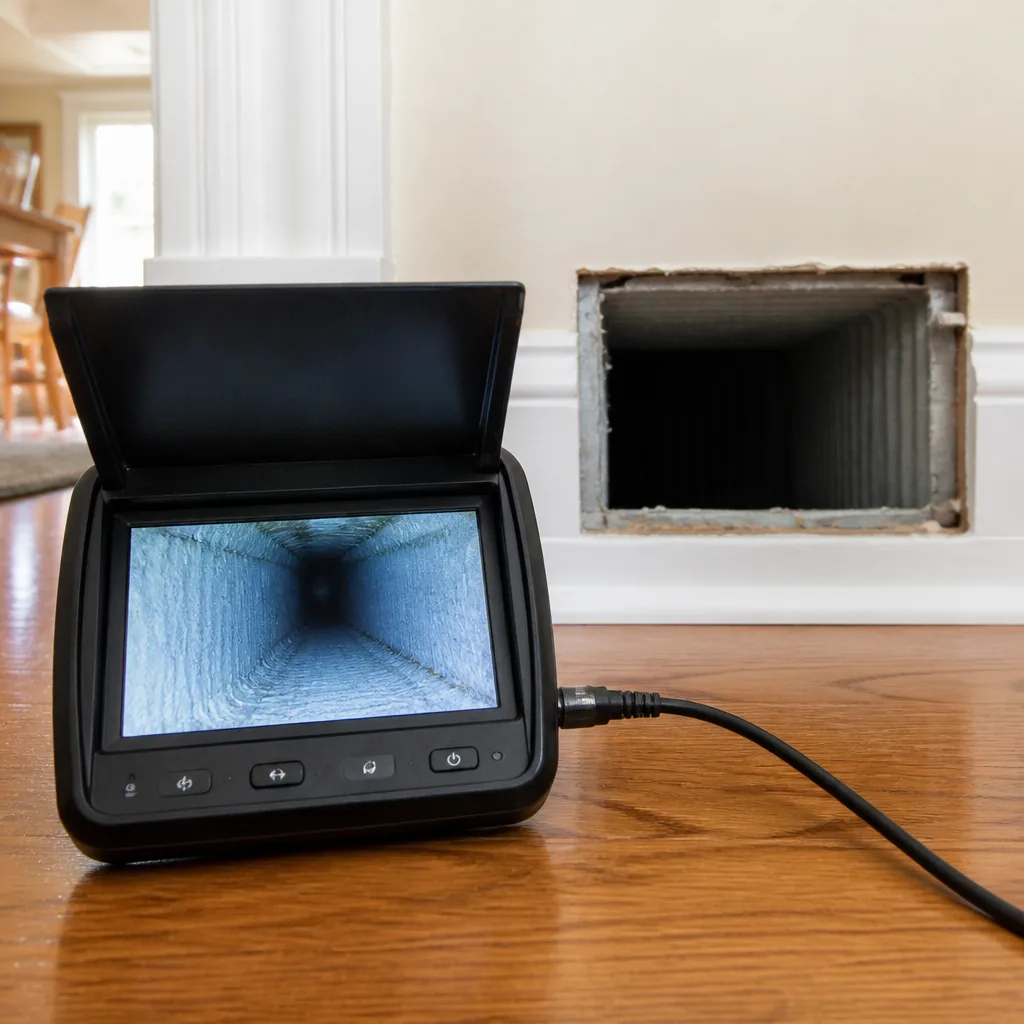
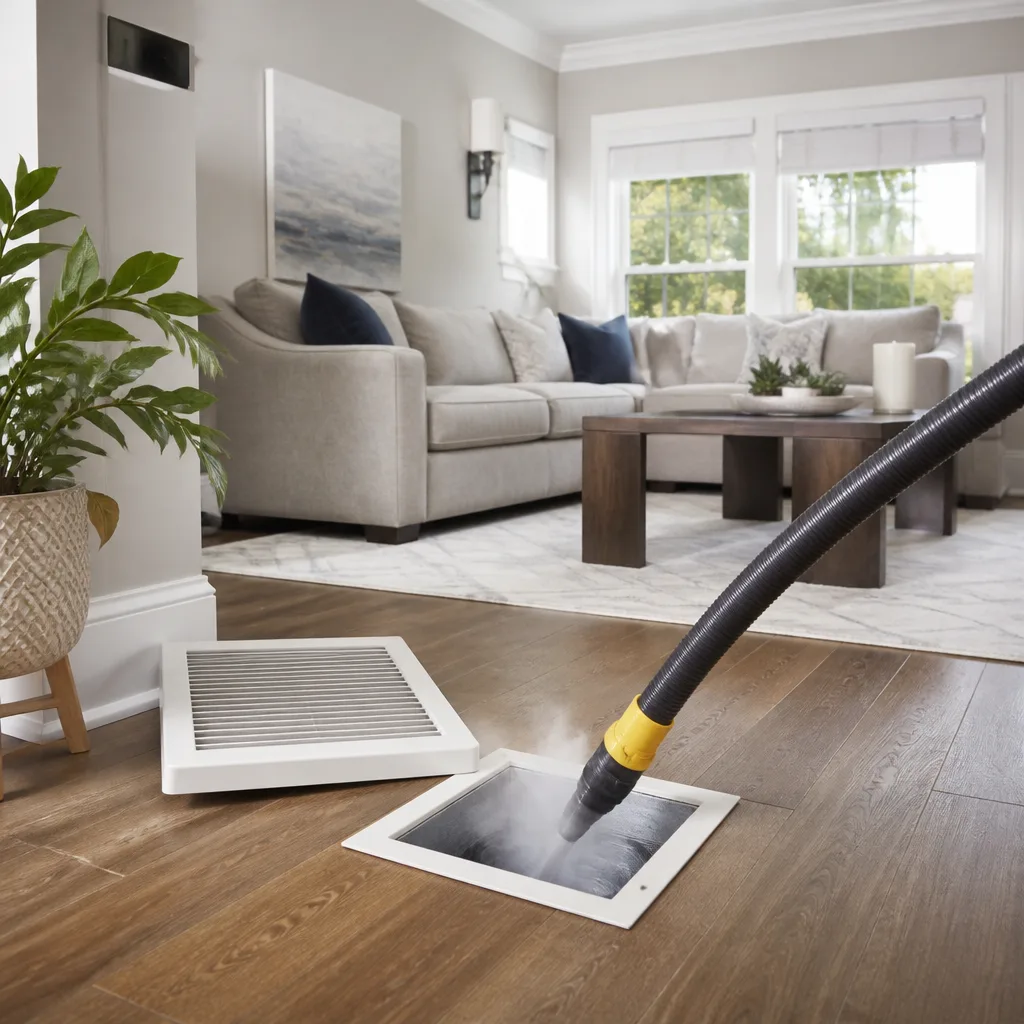
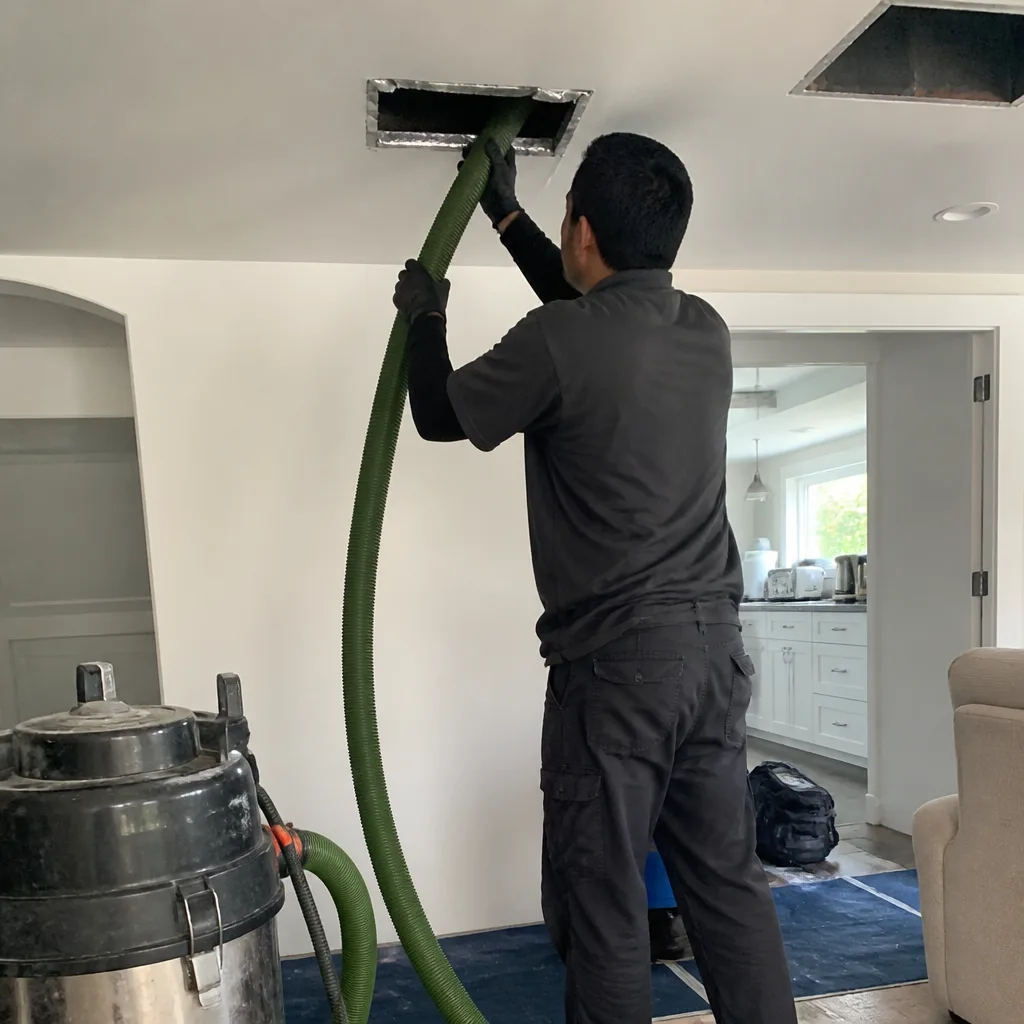
Whole-system duct and dryer vent check with before-and-after photos - you see exactly what came out of your vents
That "$99 whole-house special" is a bait ad - the real number appears once they are in your hallway, or the "clean" is a shop-vac at the register. We photograph the inside of your ducts before and after instead.
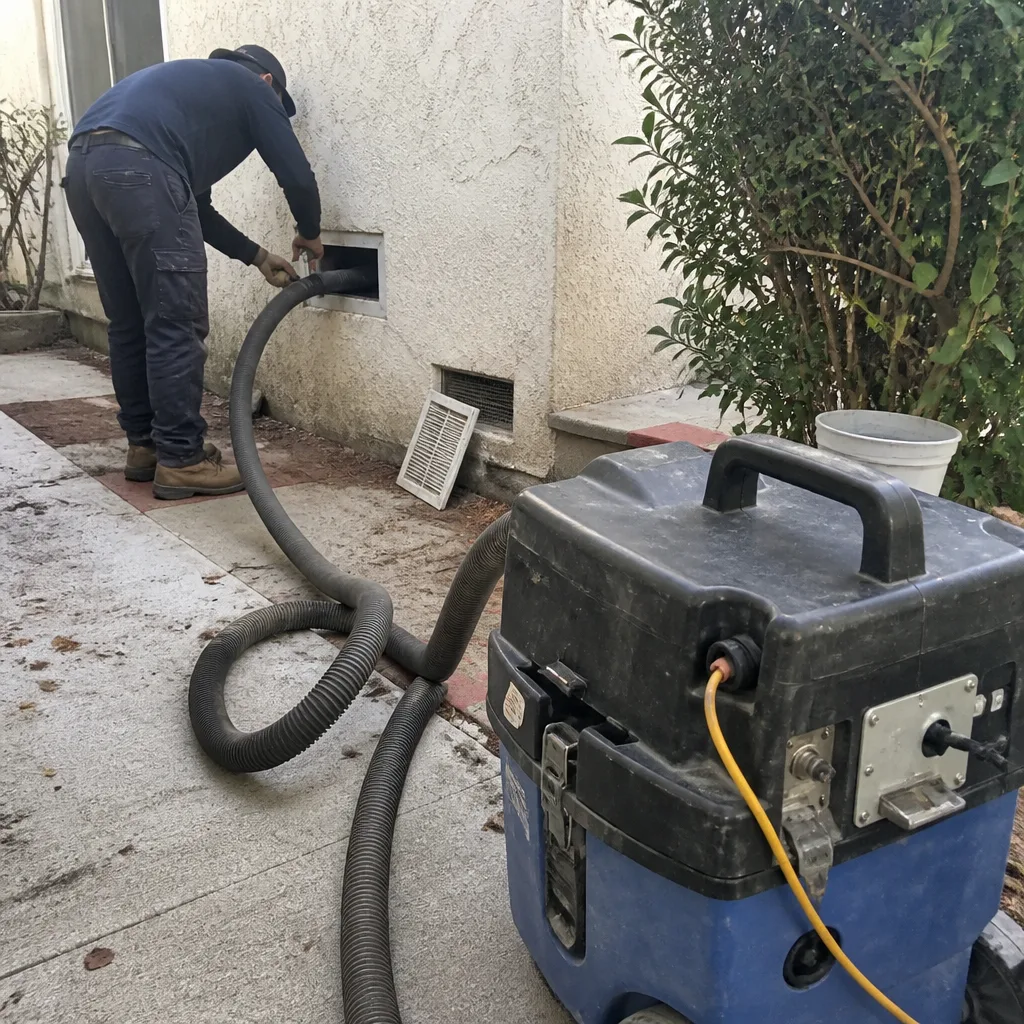 Before
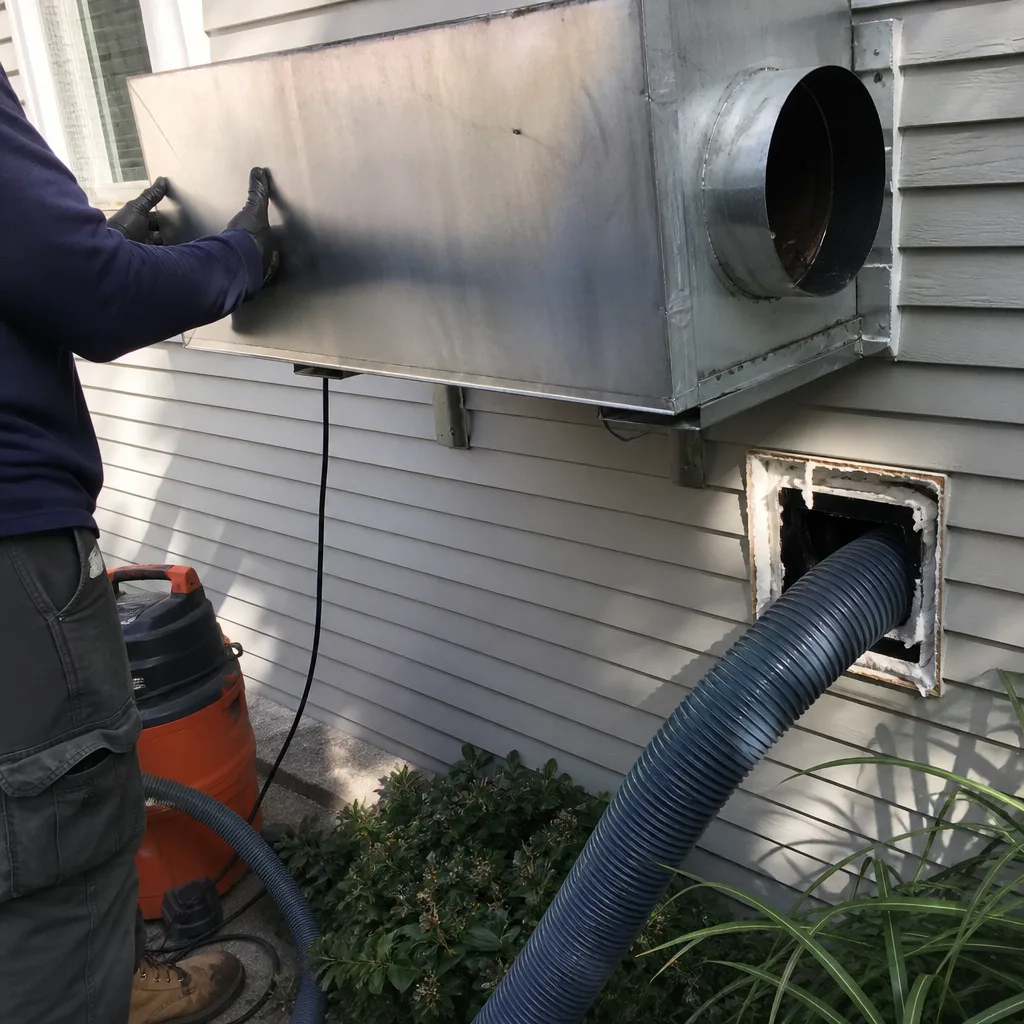 After
After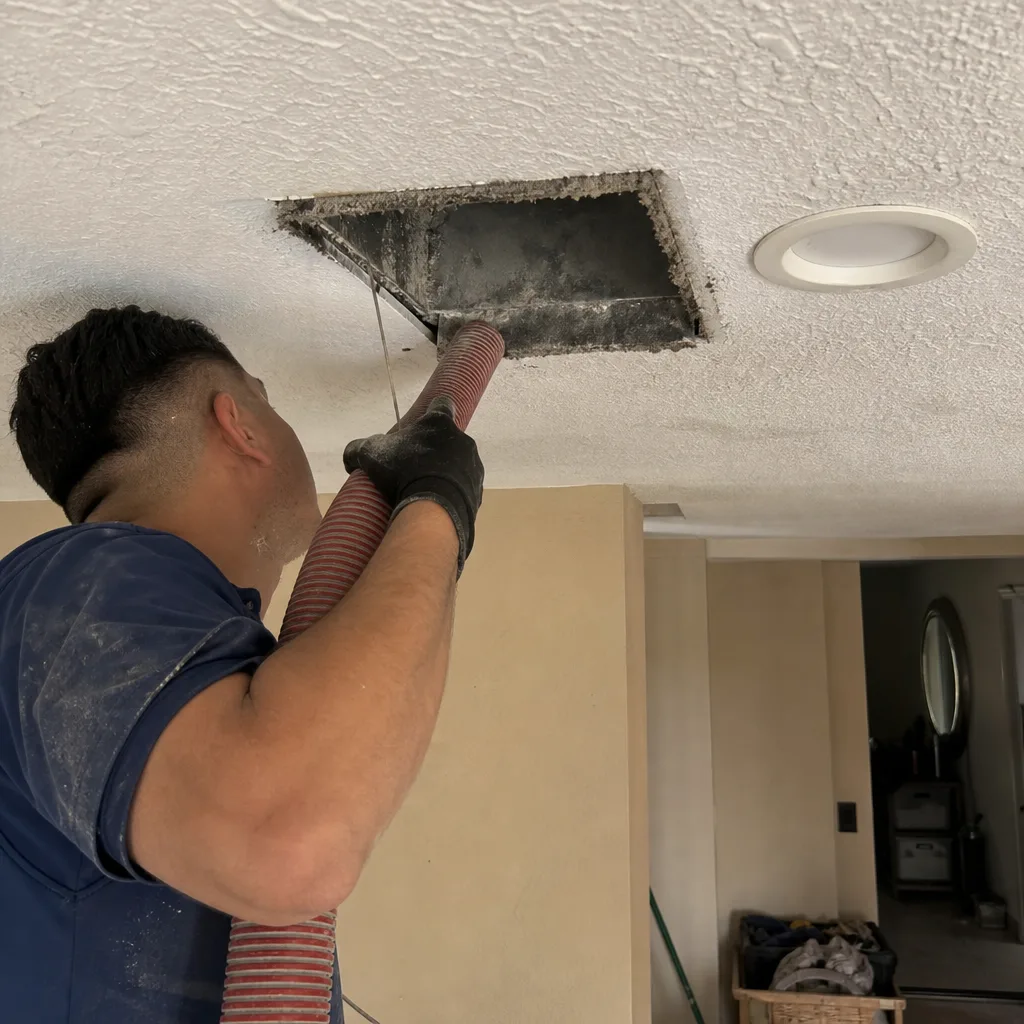 Before
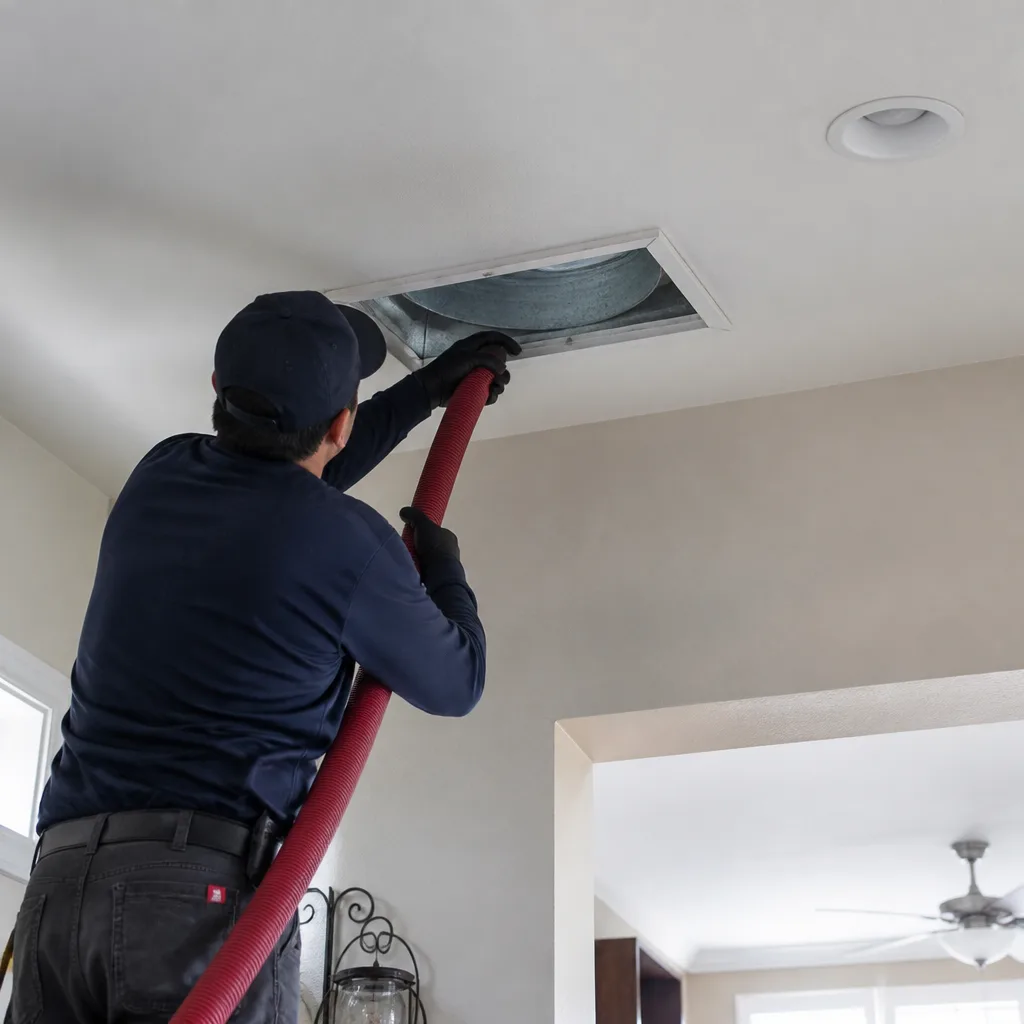 After
After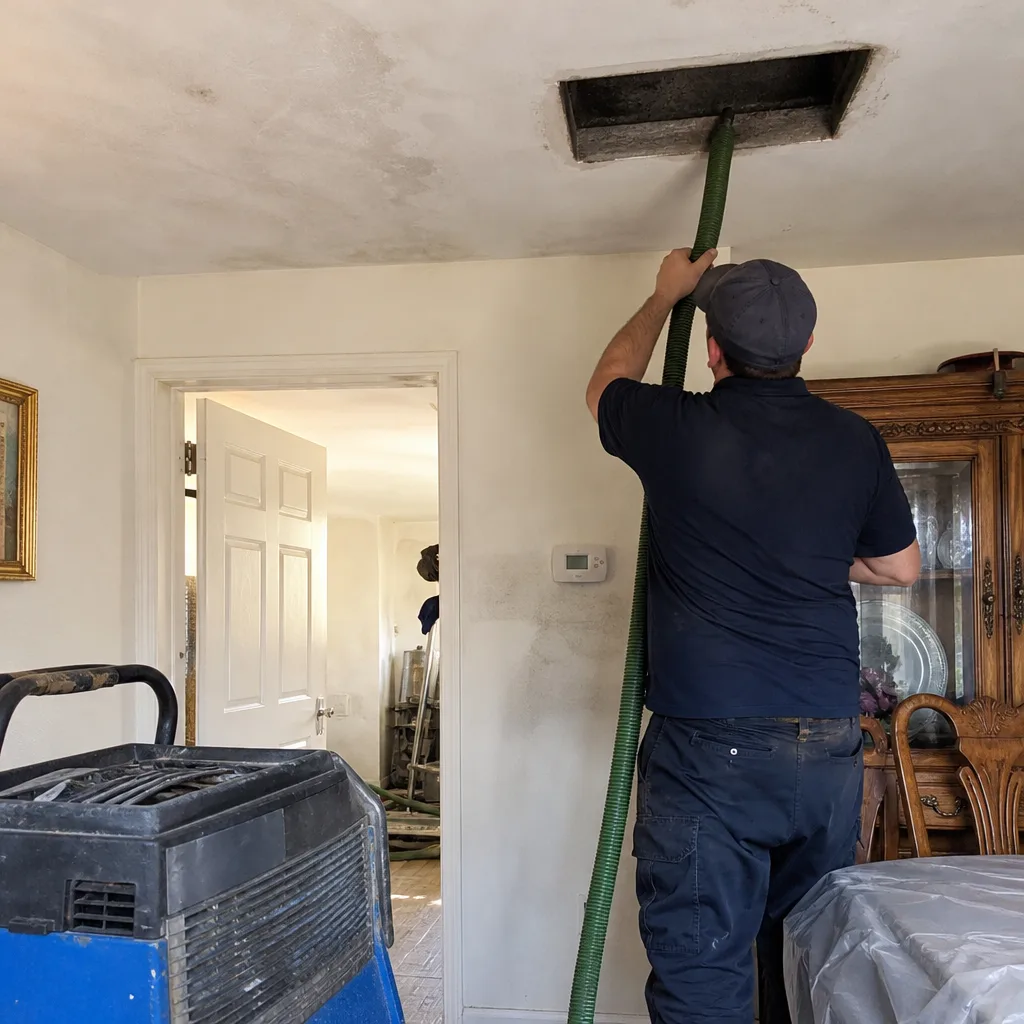 Before
 After
AfterDIY vs Professional Dryer Vent Cleaning: What’s Safe to Do Yourself
A dryer vent brush kit sold at every hardware store in Los Angeles can clean roughly the first 6 feet of duct effectively. But here’s the number most homeowners never see: the average single-family home in this city runs its dryer vent 12 to 20 feet before it terminates, which means the DIY kit cleans less than a third of the actual hazard. This guide walks through exactly where the line sits between what you can safely clean yourself and where professional equipment earns its cost. You’ll learn what a $25 kit can actually do, what it cannot, and how to verify any cleaning (yours or a hired crew’s) actually worked.
Quick Answer
You can safely clean the lint trap housing, the 6-foot transition hose, and the first few feet of accessible rigid duct with a basic brush kit and a shop vacuum. Anything beyond roughly 8 feet of duct, any run with more than two 90-degree elbows, and any vent terminating on a roof falls outside reliable DIY reach and belongs to a Dryer Vent Cleaning services professional with rotary brush or negative-air equipment.
Table of Contents
- What You Can Actually Clean Yourself
- Why $25 Brush Kits Fail on Longer Runs
- Vent Configurations That Require Professional Equipment
- What a Professional Cleaning Includes That DIY Misses
- How to Verify Any Cleaning Actually Worked
- Los Angeles Specifics: Climate, Code, and Common Builds
- Common Mistakes to Avoid
- When to Call a Professional
- Frequently Asked Questions
- The Bottom Line
What You Can Actually Clean Yourself
Let’s be direct about what a homeowner can clean effectively without professional equipment. The reachable portion of a dryer vent system includes three components: the lint trap housing inside the dryer, the flexible or semi-rigid transition hose behind the machine, and rigid duct sections you can access within roughly 8 feet of the dryer. Using a basic brush kit (a flexible rod with a circular brush head), a shop vacuum, and a screwdriver, you can clear visible lint accumulation in these areas. This work is safe, straightforward, and worth doing between professional cleanings.
The process takes about 45 minutes the first time and much less once you know your setup. Here’s the step-by-step:
- Unplug the dryer and pull it away from the wall slowly, watching the transition hose so you don’t crush or tear it.
- Loosen the hose clamp at the dryer outlet and at the wall connection, then remove the hose entirely.
- Vacuum out the dryer outlet on the back of the machine, reaching as far into the blower housing as the hose will go.
- Run the brush kit through the transition hose manually, working from both ends until the brush comes out clean.
- Insert the brush into the rigid duct opening at the wall and clean as far as the rod will reach, typically 6 to 8 feet.
- Vacuum the wall opening and reinstall the hose with both clamps tightened.
- Push the dryer back and run it on air-dry for 10 minutes to blow any loosened debris out.
In Los Angeles, where many homes date to the 1950s and 1960s and laundry rooms sit against exterior walls in the rear of the house, the accessible runs tend to be short enough for this to genuinely help. In a mid-century ranch in the Valley, you might have a single straight section of rigid duct with one elbow. The brush kit handles that configuration reasonably well. But the moment the run turns, elbows, or climbs, the math changes.
Why $25 Brush Kits Fail on Longer Runs
The core problem with hardware-store brush kits isn’t the brush. It’s what drives the brush: your arm. A manual brush kit relies on push-pull agitation to scrub lint off the interior walls of the duct. That works in a straight, short piece of pipe. It stops working when the rod has to bend around an elbow, pass through an offset, or travel upward. By the time you’ve pushed the rod 10 or 12 feet, you’re no longer agitating the brush against the walls. You’re pushing a flexible rod that flexes in the middle and lets the brush head skate over compacted lint rather than biting into it.
Compacted lint is the operative phrase. Lint that has been through dozens of dry cycles, exposed to heat, and pressed against the duct wall cures into a dense, felt-like layer. Fresh, fluffy lint vacuums out easily. Cured lint requires mechanical agitation: a brush spinning under drill power or a rotary drive assembly that maintains constant rotational contact with the duct walls throughout the entire run. Professional equipment-relevant when weighing DIY vs Professional Duct Sealing: What’s Safe to Do Yourself-from manufacturers like Rotobrush and Nikro uses powered rotary brush systems with reverse-scrubbing action. The brush spins continuously as it travels, and the vacuum runs simultaneously to capture debris as it dislodges. A manual kit cannot replicate this dynamic because you cannot maintain both rotational force and forward progress at the same time by hand.
We’ve seen this pattern consistently in Los Angeles neighborhoods from Westchester up through Sherman Oaks and across to Pasadena. A homeowner spends a Saturday afternoon running a brush kit through the vent, sees some lint come out, assumes the job is done, and the dryer still takes two cycles to dry towels. The brush cleaned the first 6 feet. The remaining 12 feet of duct, the part that runs through the wall cavity and up to a roof cap, stayed packed. The visible improvement at the machine concealed the untouched hazard downstream.
Vent Configurations That Require Professional Equipment
Certain vent layouts simply exceed what any manual kit can reach or agitate. The following configurations should be treated as professional-only work:
- Runs over 15 feet. Beyond this length, manual rod systems lose enough rigidity that the brush cannot maintain wall contact, especially as the rod accumulates lint and loses slip.
- More than two 90-degree elbows. Every elbow is a conflict point where lint concentrates and airflow drops. A manual brush struggles to navigate a single elbow under tension; two or more make reliable cleaning by hand functionally impossible.
- Roof terminations. Vertical runs that exit through a roof are the most dangerous and the most neglected. Lint in a vertical stack settles against the wall, and moisture from humid dryer air can combine with it to form a dense plug. Cleaning from the bottom with a hand rod cannot address the cap or the upper third of the stack.
- Vertical stacks in multi-story buildings. In Los Angeles, a meaningful percentage of condo units and stacked townhomes route dryer vents through shared chases. These runs can be 25 feet or longer and may include fire dampers, offsets, and combined terminations. Only professional negative-air machines with powered brush systems can handle these.
The common thread is length plus resistance. Every foot of duct adds resistance to the rod trying to push through it. Every elbow multiplies that resistance. At a certain point, the force required to keep the brush agitating exceeds what a person can generate by hand, and the only options are powered rotation or disassembling the duct, which no homeowner should attempt blindly.
What a Professional Cleaning Includes That DIY Misses
A professional dryer vent cleaning in Los Angeles involves more than running a faster brush. It includes inspection protocols and verification steps that a brush kit cannot provide. Here’s what a proper job includes:
1. Interior duct inspection
Before cleaning, a professional inspects the duct interior for sags, separations, and damaged sections. Sags in a horizontal run create a low point where lint accumulates faster. Separations at joints allow lint to escape into the wall cavity, which is both a fire hazard and a source of reduced airflow. These conditions are invisible from the dryer side. Pro-grade inspection cameras, often paired with negative-air machines from companies like Nikro or Abatement Technologies, show exactly what the interior looks like before and after.
2. Termination cap inspection and cleaning
The termination cap is where the vent exits the house, and in Los Angeles it’s often neglected precisely because it’s hard to reach. Roof caps especially collect debris, bird nesting material, and sun-baked lint that hardens into a crust. A professional checks the cap’s damper flap operation and its screen condition, and clears the cap itself. A DIY cleaning from the dryer side never touches the cap, which means the final 2 feet of the system, the part most exposed to weather and wildlife, never gets cleaned.
3. Code-compliant duct material confirmation
Many Los Angeles homes still have runs of white vinyl or foil flex duct left over from older installations. These materials are no longer code-compliant and are specifically prohibited in dryer vent applications under current mechanical codes because they trap lint and cannot withstand the heat of a dryer exhaust. A professional identifies non-compliant material and can replace it with rigid galvanized duct or approved semi-rigid aluminum. This matters for both safety and resale inspection in a market as active as Los Angeles.
4. Airflow verification
The professional standard is to measure airflow at the termination before and after cleaning, often with an anemometer. Numbers matter more than pride. If the measured CFM at the cap doesn’t improve significantly after cleaning, the professional should be able to explain why, whether that’s a restriction upstream or a design problem in the run itself.
How to Verify Any Cleaning Actually Worked
You don’t need an anemometer to spot-check a cleaning. There’s a simple before-and-after comparison any homeowner can run:
- Before cleaning: With the dryer running on air-dry (no heat), go outside to the vent termination and hold a tissue or thin strip of paper against the cap. Note how far the air pushes it. If the tissue barely flutters or falls flat, airflow is severely restricted.
- After cleaning: Run the same test. The tissue should be pushed outward firmly and consistently. The difference between before and after is the real-world measure of whether the cleaning did anything meaningful.
- If the numbers don’t change: Ask questions. A professional who measured airflow before and after should be able to show you those measurements. If they didn’t measure and the tissue test shows no improvement, the cleaning was ineffective or the restriction is elsewhere, maybe a crushed transition hose, a blocked cap, or a duct separation inside the wall.
We tell Los Angeles homeowners to insist on this simple check regardless of who does the work. A dryer vent cleaning that doesn’t improve airflow at the termination didn’t clean the vent. It cleaned whatever was reachable and called it a job.
Los Angeles Specifics: Climate, Code, and Common Builds
Los Angeles creates a specific set of conditions for dryer vents that generic guides miss. Marine layer humidity near the coast, from Santa Monica down through the South Bay, keeps lint damp and heavy, which makes it stick to duct walls faster than in dry climates. Inland heat, from the San Fernando Valley out to the Inland Empire, bakes lint into a brittle, dense layer that requires powered agitation to break loose. Neither extreme is friendly to partially clean ducts.
Housing stock matters too. Los Angeles has a huge inventory of post-war single-family homes with short side-wall runs, which are the easiest to clean. But it also has a growing share of newer tight-lot construction and condo units where vent runs are longer, more complex, and more likely to include vertical sections. The same $25 brush kit that works passably in a 1950s El Segundo bungalow is nearly useless in a four-story Koreatown condo with a 30-foot shared chase.
Code requirements in California have tightened over the years, and many homes still carry legacy materials that fail current standards. If your vent includes vinyl flex duct, foil tape joints, or screens on the termination cap (which trap lint), those are code issues that go beyond cleaning. Duct sealing with proper mastic and approved materials is sometimes required after a cleaning, and that’s a separate service from the cleaning itself. Hollis Air Duct Cleaning offers duct sealing in Los Angeles as a follow-up when inspection reveals leaks or non-compliant sections.
Common Mistakes to Avoid
- Cleaning from the wall side only and skipping the cap. The majority of blockages in Los Angeles vent runs occur at or near the termination, especially roof caps in older homes. Cleaning from the dryer side without ever touching the cap leaves the most critical section untouched, and the homeowner goes away believing the vent is clean.
- Using a leaf blower into the duct. Some online advice suggests blowing a leaf blower through the dryer vent from the inside to clear it. This can separate joints, blow lint into the wall cavity, and push debris into the cap where it packs tighter. It also does nothing for lint that’s adhered to the walls, which is the lint that actually matters.
- Pulling the dryer out too far and crushing the transition hose. The semi-rigid aluminum hose behind the dryer is the most fragile component in the system. Crushing it partially is common and often unnoticed. The dryer goes back into place, the hose is now flattened to half its diameter, and airflow is worse than before the cleaning.
- Assuming a $49 advertised special will cover the full job. National chains and bait-priced operators often advertise a low rate that covers the first few feet of accessible duct, then upsell the rest. Ask before booking whether the price covers the entire run including the cap, and whether it includes air-side verification. If the answer is vague, call someone else.
- Ignoring the vent entirely because the dryer still works. A restricted vent doesn’t stop the dryer. It makes it slower, hotter, and more dangerous. By the time a thermal fuse trips or a load takes three cycles to dry, the restriction has been building for months or years. Los Angeles utilities and local fire departments consistently rank dryer lint as a primary cause of residential laundry-room fires, and almost all of those occur in vents that were never professionally cleaned.
- Using duct tape on vent joints. Duct tape fails under the heat cycles of dryer exhaust. The adhesive dries, the tape peels, and the joint opens. Proper sealing requires foil-backed tape rated for HVAC use or mastic. If you don’t have the right product, don’t tape it.
- Buying a brush kit and never using it. The most common mistake is the well-intentioned purchase that sits in the garage. A brush kit only helps if you use it, and even then it only helps for the first few feet. If you buy one, schedule its use the same weekend.
When to Call a Professional
Call a professional when your vent run exceeds roughly 8 feet of accessible duct, when it has more than two elbows, when it terminates on a roof, when your clothes are taking longer to dry despite cleaning the lint trap, or when you can’t remember the last time anyone looked at the cap. These are the conditions where manual cleaning stops working and where the risk of leaving the job partial is highest. If you’re in Los Angeles and you want a real cleaning with written pricing and a guarantee behind it, Hollis Air Duct Cleaning offers dryer vent cleaning in Los Angeles with a written quote before any work starts. Call (361) 326-5060 for a free estimate.
Frequently Asked Questions
Professional dryer vent cleaning in Los Angeles typically runs $120 to $250 for a standard single-family home with a side-wall termination. Roof terminations, long runs over 20 feet, and multi-story buildings fall in the $200 to $350 range. If your duct requires sealing, that’s typically billed as a separate service, often $75 to $150 for accessible single-joint repairs. The price you’re quoted should include the entire run from dryer to cap, and it should be in writing before work begins. Call (361) 326-5060 for an exact quote on your home; estimates are free.
Some companies quote a low per-vent price that only covers accessible duct near the machine, then add charges for each additional foot or for the cap. Others send two technicians and pressure-upsell air duct cleaning or duct sealing once they’re inside. The lower price is real, but the job it buys isn’t the full job. A written quote for the complete run, including the termination cap and verification, tells you what the job actually costs before you commit.
Run the tissue test at the exterior cap before and after the cleaning. A properly cleaned vent should push a tissue firmly and consistently away from the cap when the dryer is running on air-dry. If the tissue barely moves before and after, the cleaning didn’t resolve the restriction. A professional should be able to show you before-and-after photos of the duct interior and the cap, and should offer measured airflow numbers if you ask. If they can’t show you anything, consider that a red flag.
For a typical Los Angeles household doing four to six loads a week, a professional dryer vent cleaning every 12 to 18 months is appropriate. Households with large dogs, long duct runs, roof terminations, or older dryers should lean toward once a year. A quick visual check of the cap every few months costs nothing and often reveals blockage before it becomes a fire hazard. Between professional cleanings, do the DIY steps in this guide, but understand they’re maintenance, not replacement for a full job. Explore more guides & resources for additional home maintenance tips.
Yes, for the first 6 to 8 feet of duct and the transition hose. The brush kit plus shop vacuum method described in this guide is safe and effective for accessible straight runs. It will not clean elbows, vertical sections, the upper portion of roof stacks, or the termination cap itself. Treat DIY cleaning as a between-visits measure, and get a full professional cleaning when your vent run is longer or more complex than what you can reach.
Air duct cleaning addresses the HVAC system that heats and cools your home, using negative-air machines and rotary brushes to clean supply and return ductwork. Dryer vent cleaning addresses only the exhaust duct that carries hot, damp, lint-laden air from your clothes dryer to the outside. The two systems are completely separate, and different tools and certifications apply to each. Hollis Air Duct Cleaning provides both air duct cleaning in Los Angeles and dryer vent cleaning, but they’re distinct services with distinct pricing.
The Bottom Line
You can safely clean the first few feet of your dryer vent yourself, and doing so between professional visits is genuinely useful. What you cannot do with a brush kit is clean the full run, navigate elbows with adequate agitation, reach roof caps, inspect for sags and separations, or confirm code-compliant material. In Los Angeles, where housing stock ranges from short-run beach bungalows to multi-story condos with shared chases, the split between DIY-accessible and professional-only work is measured in feet and elbows. Know your run length, know your termination type, and make the call honestly. When the job exceeds your reach, Hollis Air Duct Cleaning has the equipment and the written guarantees to do it properly. Call (361) 326-5060 for a free estimate.
Written by Roy Castellanos, Owner at Hollis Air Duct Cleaning, serving Los Angeles since 2004.